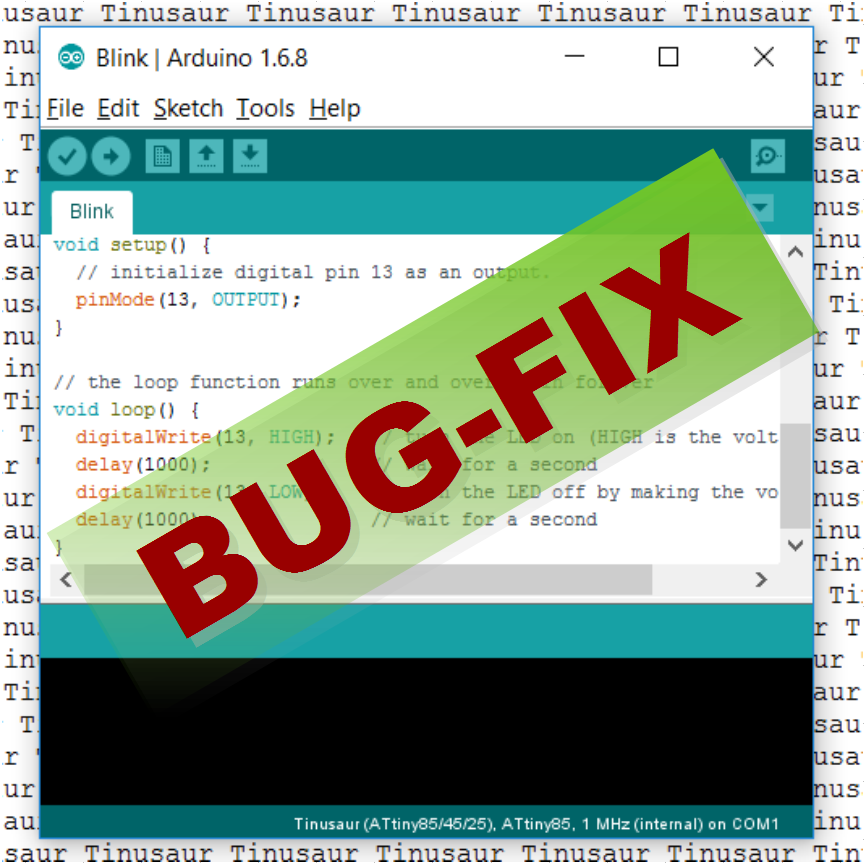
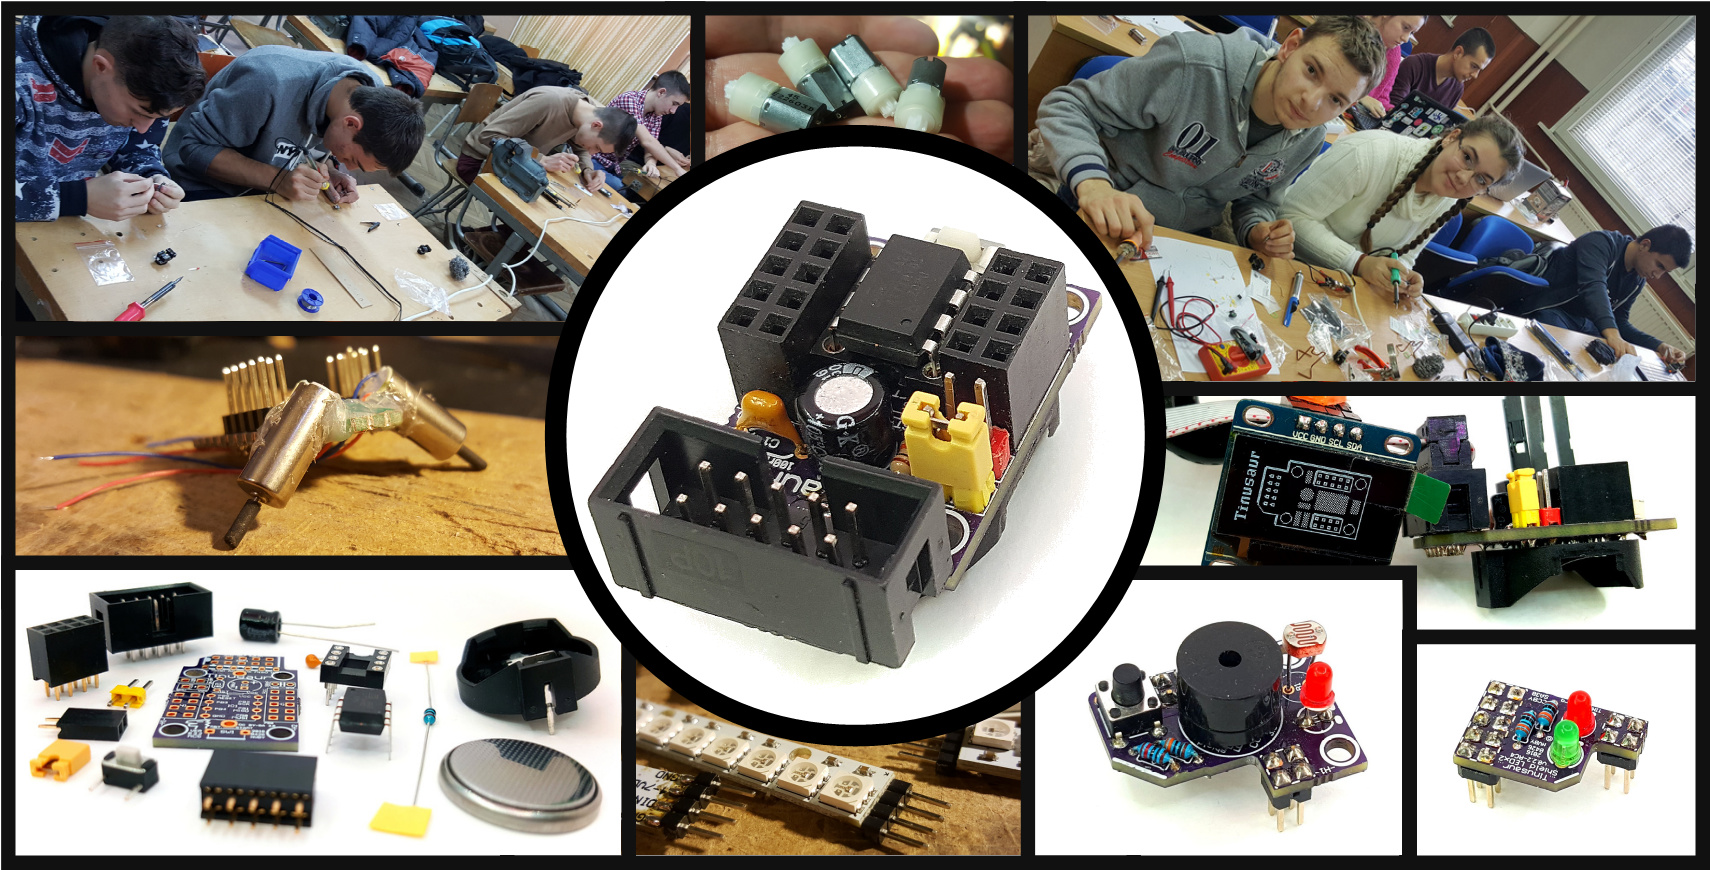
ANNOUNCEMENT: The Tinusaur Crowdfunding Campaign on January 22nd 2018

Tinusaur Crowdfunding Campaign on January 22nd 2018

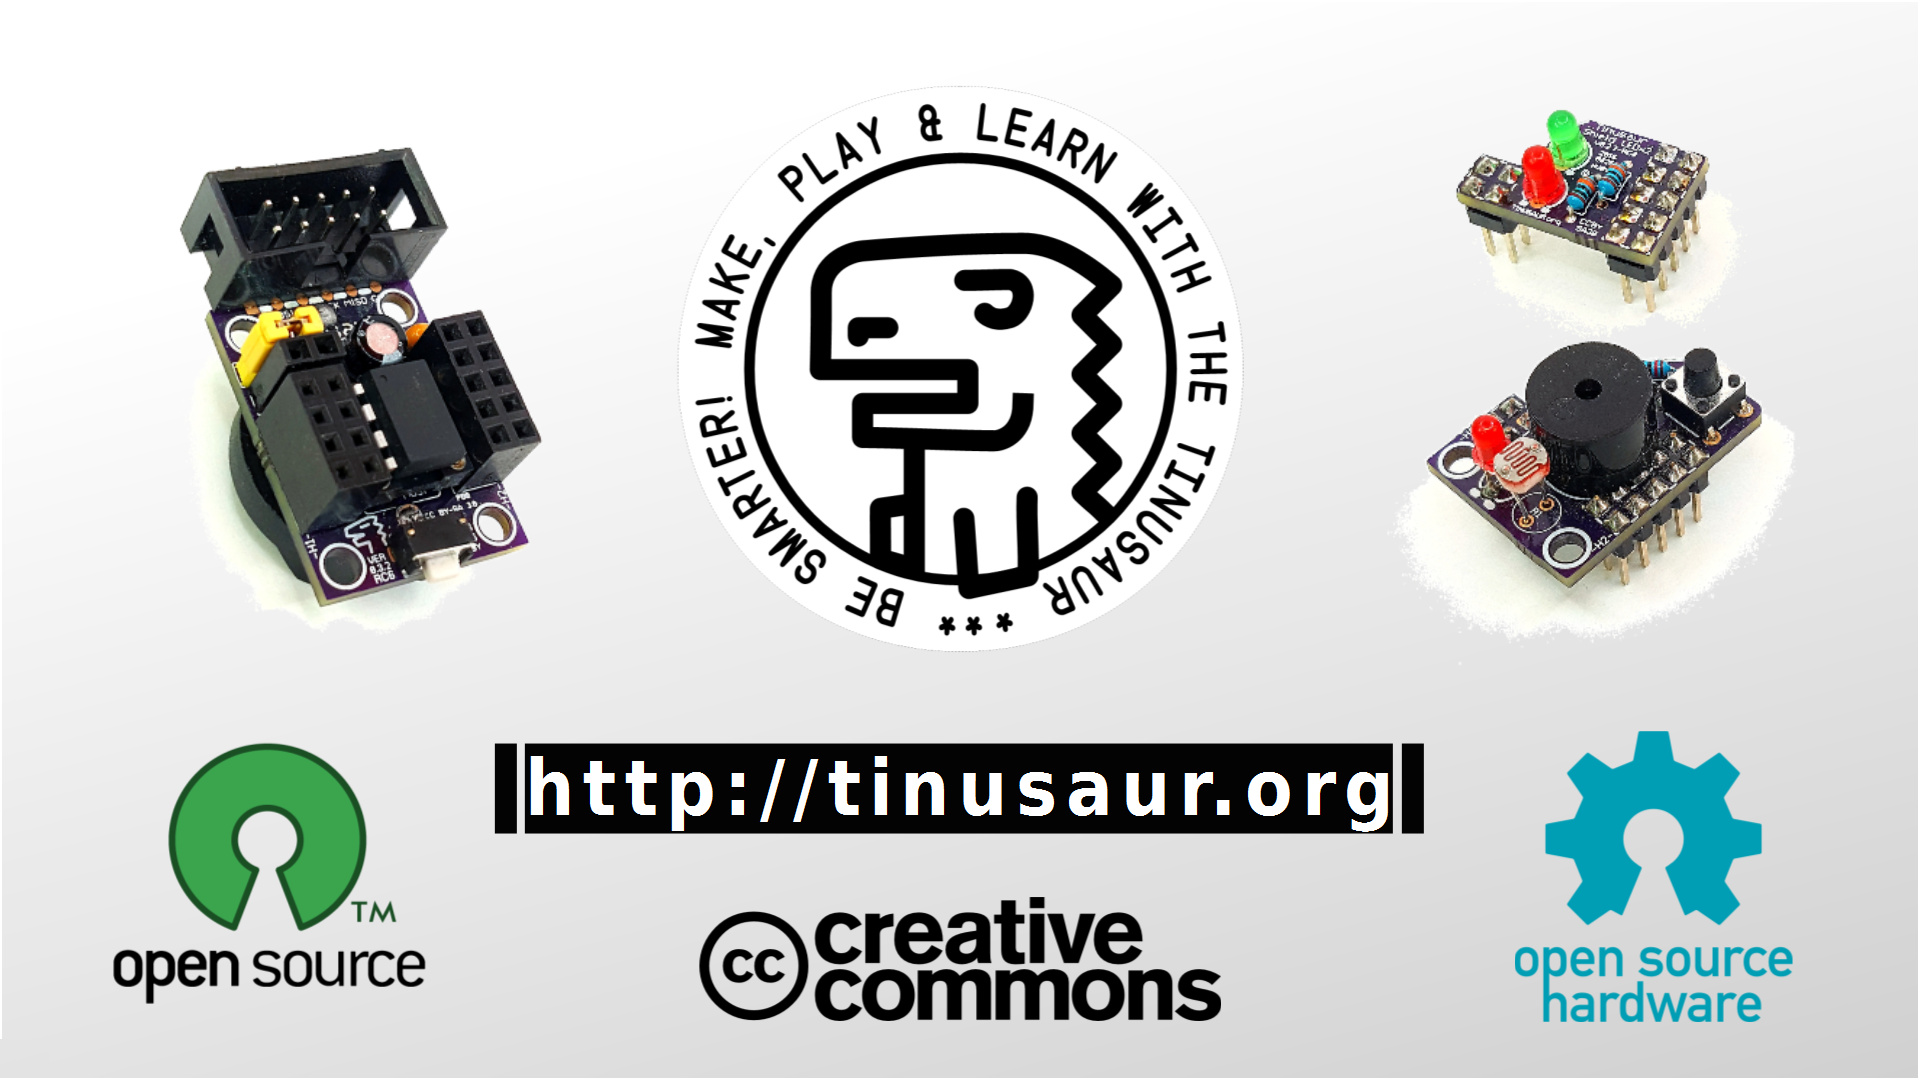
Campaign link: http://igg.me/at/tinusaur
Project link: /

  1. A small robot car that you could build yourself and program it to follow a black line on the floor.
  2. A small game platform, that you could build and program yourself.

Those are the Tinusaur project goodies. They can help you learn, teach and make things with microcontrollers, and have fun at the same time. This is what the Tinusaur project is about.

Next Monday, on January 22nd we are launching a crowdfunding campaign to make more of those fun projects.

Join us at http://igg.me/at/tinusaur and subscribe for updates about the launch.


What is the Tinusaur project about?

About Tinusaur Project Step-by-step

What is the Tinusaur project about?

Here we will explain it to you step-by-step.

About Tinusaur Project Step-by-step
The Tinusaur hardware consists of few small boards with some electronic components on top.
They come as assembly kits – small packages with parts.
The Tinusaur main board is powered by the Atmel ATtiny85 microcontroller.
About Tinusaur Project Step-by-step
The Tinusaur board comes in parts, all in a small plastic bag, you get the chance to learn how to solder.
About Tinusaur Project Step-by-step
Don’t worry – it isn’t that complicated – we’re preparing some videos that will walk you through the process. Check the Guides pages for more information.
About Tinusaur Project Step-by-step
Once your main board is ready you could use some of our add-on boards, also known as “shields”, to add functionality to your microcontroller system.
About Tinusaur Project Step-by-step
The Shield LEDx2 board comes in parts, like the main board, you have to assemble it yourself, but it isn’t very complicated.
About Tinusaur Project Step-by-step
Once you’ve assembled your first boards, you can write your first program.
About Tinusaur Project Step-by-step
The simplest program you can write is the blinking LED. That is the “Hello World” of the microcontrollers.
Next step – little challenge: make both of the LEDs blink.
About Tinusaur Project Step-by-step
The Tinusaur Shield EDUx4IO board comes in parts too, like the other boards, you have to assemble it yourself, and it isn’t complicated at all.
About Tinusaur Project Step-by-step
Once you’ve assembled your board, you can write more interesting programs.
About Tinusaur Project Step-by-step
This shield gives you more options and lets you learn more things.
About Tinusaur Project Step-by-step
There are 4 different components on it: LED, Buzzer, Button, Photoresistor.
About Tinusaur Project Step-by-step
Making the LED blink is a good start.
About Tinusaur Project Step-by-step
The next step is to make the buzzer produce some sound.
About Tinusaur Project Step-by-step
You can use the button to learn how to read the input data and make your code do different things when you press it.
About Tinusaur Project Step-by-step
The photoresistor is a component that changes its electrical conductivity depending on the intensity of the light that is applied to it. In other words, you can measure the light intensity with the photoresistor.
About Tinusaur Project Step-by-step
The LED could work in on/off mode but it could also fade-in and fade-out using what’s called pulse-width modulation or PWM for short.
About Tinusaur Project Step-by-step
The buzzers could also work with PWM and that could be considered as analog mode i.e. it could produce sound with variable intensity.
About Tinusaur Project Step-by-step
You could combine all the 4 parts to achieve more interesting results. Like using the button to switch between various modes of your program, or use the photoresistor to trigger different event depending on the light intensity.
About Tinusaur Project Step-by-step
Now, an interesting trick. What if the LED emits some light, it reflects on an obstacle and goes back to the light sensitive element – our photoresistor. That is a proximity sensor that we’ve just created.
About Tinusaur Project Step-by-step
A feature “hidden” inside of the microcontroller is an internal temperature sensor. You could make LED blink or buzzer sound if the temperature goes above or below a certain value.
About Tinusaur Project Step-by-step
We created the Blocktinu platform that will allow you to start with the programming of your Tinusaur microcontroller system really quick.
With it, you could simply drag and drop some blocks to implement your algorithms.
About Tinusaur Project Step-by-step
The platform automatically generates the C source code.
And the best part is that you can start learning the C programming language just by looking at the generated source, change your blocks and see how the source code changes.
About Tinusaur Project Step-by-step
What else you could do with the Tinusaur project?
Well, it is up to you to bring your new brilliant ideas to life.
About Tinusaur Project Step-by-step
Check our website more often to see what new we’ve developed and added to the Tinusaur platform.

Big fix: The Tinusaur Package for the Arduino IDE

Tinusaur Arduino IDE Package Bug Fix

UPDATE: There is an updated version of the Arduino Setup Guide at our new website https://tinusaur.com/guides/arduino-ide-tinusaur-setup/

We’ve recently discovered a bug in our Arduino IDE package that will cause an error when you try to compile your code.

We have a fix for it and the only thing you need to do is to update the package.

Here is how:

  1. Start your Arduino IDE
  2. Go to the menu Tools / Board … and then “Board Manager …” at the top.
  3. Wait for a while until the list is updated from the Internet.
  4. Scroll all the way down to the bottom until you see the “Tinusaur Boards“.
  5. Click on the item and see the “Update” button.
  6. Press the “Update” button.

Enjoy! 🙂

If you don’t have the package installed yet follow the instructions for setting up the Arduino IDE with the Tinusaur boards.

If you don’t have a Tinusaur board yet 🙂 go to our Indiegogo Campaign InDemand option and get one.


Indiegogo Campaign is Almost Halfway Through

Tinusaur Indiegogo Campaign

Last week we’ve launched our Indiegogo crowdfunding campaign and, as of a few minutes ago, we’ve reached 1/3-rd of our goal already. 🙂

In case you’re not familiar what the Tinusaur project is about …

A small board with a tiny chip on it that comes as an assembly kit – a small package with parts and you get the chance to learn how to solder it. This circuit is so simple that there are very few things that could go wrong. It’s been around for over 3 years and used in schools and universities to educate young people in both hardware and software. With this campaign, you could help us produce more of the Tinusaur boards, bring the cost down to $3 per basic “lite” board and allow more people to be able to get them.

Tinusaur Indiegogo Campaign

The Tinusaur boards are powered by the Atmel ATtiny85 microcontroller. You could program your Tinusaur board with the Arduino development environment, or if you chose so – using the plain old C/C++ compiler, or … using whatever you prefer.

The success of this campaign will help us produce our boards and kits in much larger quantities and bring the coast down. That will allow us to have the basic “lite” boards for as little as $3/pcs – that will make them available for even more people.

Help us spread the word – just share it. But, if you like the idea and the project, you could back us up. Here’s the link: https://igg.me/at/tinusaur.

Thanks in advance for your support.

Another two-day workshop about microcontrollers, soldering and Tinusaur

Another two-day workshop about microcontrollers, soldering and Tinusaur

There was another “Microcontrollers, soldering and Tinusaurworkshop in our town of Veliko Tarnovo, a few days ago.

On the first day, we assembled some boards, the second day we wrote some programs.

For the younger kids, there were much simpler things to do – soldering blinking LED with 2 transistors, a few other components, and a battery.

Day 1

Just assembling various boards.

Tinusaur Board

This is the Tinusaur Board from the Tinusaur Starter 2 kit.

Tinusaur Board Parts

It wasn’t difficult for anyone to do that. There are markings on the PCB that tell you where to put each component and in what direction.

The only important thing to know is that you solder the RESET button last, before that you solder the battery socket on the bottom side of the PCB.

Tinusaur Shield LEDx2

This is the Shield LEDx2 from the Tinusaur Starter 2 kit.

Tinusaur Shield LEDx2 Parts

This shield is an upgrade from the previous Tinusaur Starter where we had to solder the LED and the resistor to a tiny 2-pin male header. With the shield is so much easier and fun.

LED Matrix 8×8 with MAX7219 Controller

This is a LED matrix 8×8 with a MAX7219 controller.

LED Matrix 8x8 MAX7219 Controller

That was something new. They sell on eBay at a very affordable prices: http://www.ebay.com/itm/191736585164

Even while we’re soldering it people were coming with ideas about what we could do with it.

Day 2

The second day was dedicated to programming what we’ve assembled the previous day.

Software and Arduino IDE Setup

That’s how we started day 2.

A short guide about how to setup the Arduino IDE to work with the Tinusaur boards is available at the Arduino IDE Setup page.

Blinking LED

The “Hello, World!” in the microcontrollers’ world.

Source code available at https://bitbucket.org/tinusaur/tutorials/src/default/tut004a_blinking_leds/.

A separate blog post and tutorial page will be available soon.

LED Matrix 8×8

The biggest challenge here was to make the MAX7219LED8x8 library work in the Arduino IDE environment.

We’ll do another post about that in the next few days.

UPDATE 2022: The MAX7219LED8x8 library, now renamed to MAX7219tiny has now a new home at tinusaur.com/libraries/max7219tiny. Check also this MAX7219 & ATtiny85 tutorial to learn how the library works.

How to Setup the Arduino IDE to Work with the Tinusaur Boards

Arduino IDE for Tinusaur Boards

UPDATE: There is an updated version of the Arduino Setup Guide at our new website https://tinusaur.com/guides/arduino-ide-tinusaur-setup/

This is a short guide how to setup the Arduino IDE to work with the Tinusaur boards.

What it does basically is to make it work with the Atmel ATtiny85/45/25 microcontrollers. The only difference is that it will appear on the list of boards as Tinusaur – this is done for convenience, so relatively inexperienced people won’t get confused by the long list of unknown boards and microcontrollers.

Installing the Arduino IDE

First of all, we need the Arduino IDE itself. It could be downloaded from https://www.arduino.cc/en/Main/Software – the official Arduino website. The current version at the time of writing this guide was 1.6.8 but should work with all the most recent versions.

Start the Arduino IDE first.


Adding Support for the Tinusaur Boards

Go to the menu File / Preferences.

Find the “Additional Boards manager URLs” and the button on the right that will open an edit box.

Put the following URL in the edit box:

https://bitbucket.org/tinusaur/arduino-ide-boards/raw/default/package_tinusaur_attiny_index.json

NOTE: It is possible to have multiple URLs as long as they are put on separate lines.

Close the edit dialog by pressing “OK”. Close the “Preferences” dialog by pressing “OK”.

Go to the menu Tools / Board:… / Boards Manager.

This will open an additional dialog window with boards information.

You may need to wait until all data is loaded.

From the drop-down menu “Type” choose the “Contributed” item.

Locate the “Tinusaur Boards” item and click on it.

Press the “Install” button. That will install the necessary files into the Arduino IDE.

Close the dialog by pressing the “Close” button.

Setup to use the Tinusaur Board

Go to menu Tools / Board:…

The Tinusaur should be available somewhere at the bottom of the list. Choose the Tinusaur.

It is important to setup the other parameters for the board.

Go to menu Tools / Processor:… and choose the appropriate CPU type. If unsure choose ATtiny85.

Go to menu Tools / Clock:… and choose the appropriate CPU frequency. If unsure choose 1 MHz.

Go to menu Tools / Programmer:… and choose the appropriate programmer. If unsure choose USBasp.

That’s it.

Another version of this guide but with screenshots is available at the Arduino IDE Setup page.

Tinusaur and Digispark – should we compare?

Compare Raspberry Pi, Arduino Uno, ATtiny85 Tinusaur

These are questions that we’re often asked:

  • How is it better than ****** ?
  • How is it different from ****** ?

Atmel ATtiny85

First of all you should not compare the Tinusaur powered by Atmel ATtiny85 microcontroller to things like Raspberry Pi (or any other platform running 32/64-bit RISK processor) or Arduino (running on ATmega or similar).

In fact, the Tinusaur should be compared only to something that has 8 KB (kilobytes) program memory and 512B (bytes) data memory, has also 5 or 6 input/output connectors.

But the more important question here is …

Why the Tinusaur even exists?

Tinusaur Board Assembled

The Tinusaur project concept is LEARN BY DOING THINGS. That mean if you want learn how something works you should create one yourself – from scratch if possible.

The opposite to that would be to order something from Internet, open the box, connect some wires, copy/paste code from website, see that the LED blinks … and that’s all. Period.

So, if you want to create the simplest possible microcontroller system … the Tinusaur is your friend. It is a small plastic bag package that has all the parts that you need to assemble your own system powered by Atmel ATtiny85 microcontroller. You need to have soldering iron though.

Then, you can write some simple programs following the tutorials here on this website (or elsewhere, if you prefer) and from this point on it is little different from any other ATtiny85 based board.

Let’s Compare

If you’re still not convinced why it is not possible to compare it other more powerful platforms here are some technical parameters.


Raspberry Pi

Raspberry Pi 2 Model B v1.1 top new

Arduino Uno

ATtiny85/Tinusaur

Tinusaur Board Top

Processor ARM11 – 32-bit RISK ATmega328P 8-bit RISK ATtiny85 – 8-bit RISK
Frequancy 700 MHz 16 MHz 1 MHz (up to 20 MHz)
Memory RAM 256/512 MB 2 KB 512 B
Memory PRG On-board SD slot 32 KB, 1 KB EERPROM 8 KB Flash, 512 B EERPROM
Input/Output 8×GPIO, UART, I²C, SPI … 6 analog, 14 digital 5 or 6 analog/digital
Peripheral USB, audio & video, HDMI
OS Linux, etc.
Dimensions 85×56 mm (48 cm²) 68×53 mm (36 cm²) 28×20 mm (6 cm²)
Weight 45 gr. 28 gr. 9 gr.
Power 500 mA, 700–1000 mA 50 mA 1-2 mА, 300 µA idle
(0.1 µA standby)
Cost 35 USD (25 USD) 20 USD (10 USD) 5 USD board
8 USD starter kit

* values are typical, may differ by application
** prices depend where do you buy it
*** some of the data may be little outdated but still relevant for rough comparison

It is obvious that these 3 product categories are very different.

Let’s just mention that Tinusaur/ATtiny85 advantages are:

  • Size – small, less than 1 in²
  • Wight – light, about 9 gr
  • Power consumption – low, extremely low in standby
  • Price – affordable to everyone

Worth mentioning that the price of the Tinusaur board with all the parts could go as low as 2 USD or less if produced in thousands pcs.

The Digispark

Digispark by Digistump is GREAT!

It is actually the Digispark that we should compare the Tinusaur to.

Digispark by DigistumpHere are some the things that we believe are advantages of the Tinusaur over the Digispark:

  • You can assemble it yourself thus learn one more thing – how to solder.
  • You can use all of the 8KB flash memory because you don’t need what’s call bootloader (needed for the Digispark USB connection) that takes about 2 KB so you have less than 6 KB left for programs.
  • It is cheap and will get cheaper – down to 2 USD and we start producing in thousands.

Another thing to mention is that the original high-quality Digispark by Digistump is 8.95 USD. You can still buy the generic quality clone for under 2 USD on various websites.

Other notable similar projects

Listed here only as reference

PicoDuino

by Bobricius

Trinket

by Adafruit

OLIMEXINO-85S
(OLIMEXINO-85)

by Olimex

PicoDuino by Bobricius Trinket by Adafruit OLIMEXINO-85S

Conclusion

The Tinusaur has its own advantages that make it unique for its specific audience.

And let’s not forget the the Tinusaur Project consist not only of Tinusaur Board but also the guides, tutorials and the projects based on it.

And by the way …

We have just launched the Tinusaur Indiegogo crowdfunding campaign so if you like what we’re doing support us at http://igg.me/at/tinusaur

Tinusaur Indiegogo Crowdfunding Campaign Launched


TinuDHT – ATtiny Library for DHT11

Ever wanted to do a project with that cheap DHT11 temperature/humidity sensor and did not want to go the Arduino way but with a simple ATtiny85? You probably know already about  the issues with the existing Arduino based libraries running on the ATtiny microcontrollers, but can’t deal with them. TinuDHT is our answer to this.

TinuDHT is a C library for working with the DHT11 temperature/humidity sensor intended to be used with the Tinusaur but should also work with any other board based on ATtiny85 or similar microcontroller.

DHT11

The DHT11 is very basic, low-cost digital temperature and humidity sensor. It uses a capacitive humidity sensor and a thermistor for measurements, and sends out the info to the data pin. It is relatively simple to use it, but requires precise timing to retrieve the data correctly. One disadvantage of this sensor is that you can get new data from it no more often than once every 1 or 2 seconds.

The primary problem with the direct use of the Arduino libraries is that the ATtiny85 and Tinusaur in particular do not have enough resource to handle the send/receive process properly, i.e. not enough CPU power, in result of which the timing of the signals that are sent to the sensor and received from it become messed up. In addition those libraries use Arduino specific code and/or C++ specific syntax which makes them incompatible with the plain C language.

TinuDHT library is based on DHT11Lib code. It was adapted for ATtiny, removed Arduino dependencies and timing was adjusted to work well on ATtiny85 at 1 MHz. There are few other changes and optimizations for speed and size.

TinuDHT is written in plain C and does not require any additional libraries to function except those that come with the WinAVR SDK. Check our WINAVR Setup guide.

Please go to TinuDHT page to see the full document.

The source code of the TinuDHT library is available at https://bitbucket.org/tinusaur/tinudht.

Tinusaur Board DHT11 LCD Battery

Arduino IDE – Setup Guide

UPDATE: There is an updated version of the Arduino Setup Guide at our new website https://tinusaur.com/guides/arduino-ide-tinusaur-setup/

Arduino IDEWe have put together a short guide how to setup and use Arduino IDE for programming the Attiny85 microcontroller and the Tinusaur Board in particular.

Note: This guide was tested under Microsoft Windows 8.1 operating system.

Note: The example source code was tested on ATtiny85 microcontroller installed on a Tinusaur Board and programmed using USBasp ISP programmer.

Note: This is not a guide how to use the Arduino IDE but rather how to setup one for use with AТtiny microcontrollers and specifically the Tinusaur.

The guide goes through the:

  • Installation of the Arduino IDE.
  • Setup the IDE for ATtiny and Tinusaur, adding boards definitions.
  • Setup USBasp Programmer, just brief overview.
  • Test the Arduino IDE with the Tinusaur, writing blinking LED program.

The entire Arduino IDE Setup Guide is available under the Guides menu.