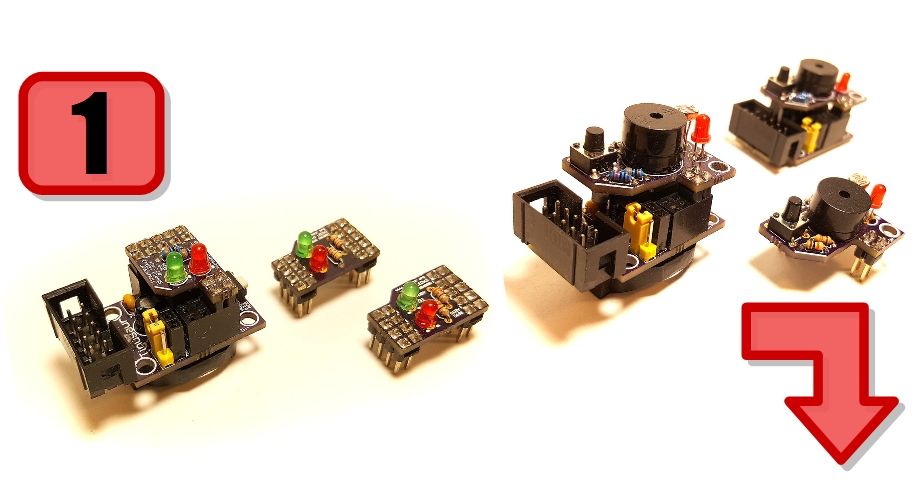
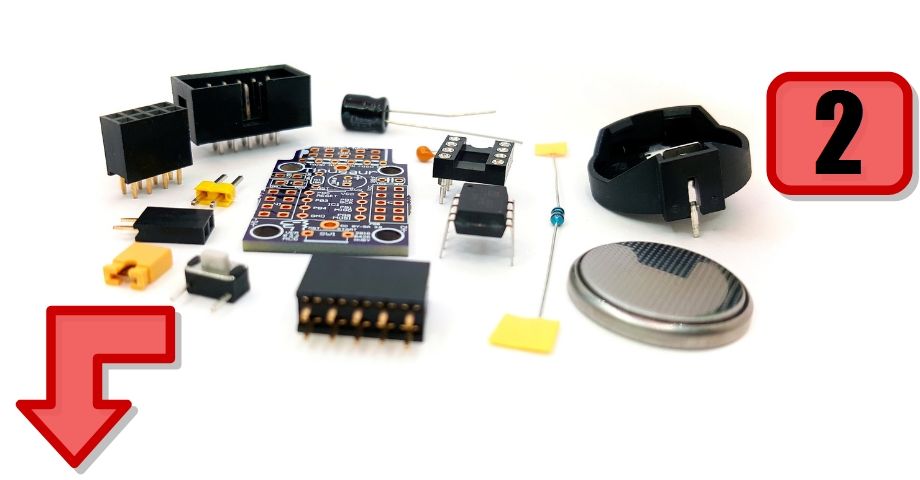
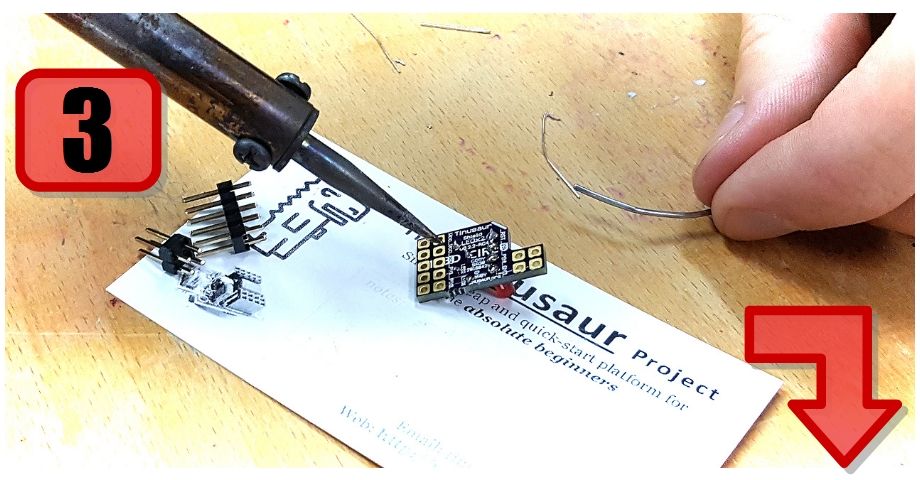
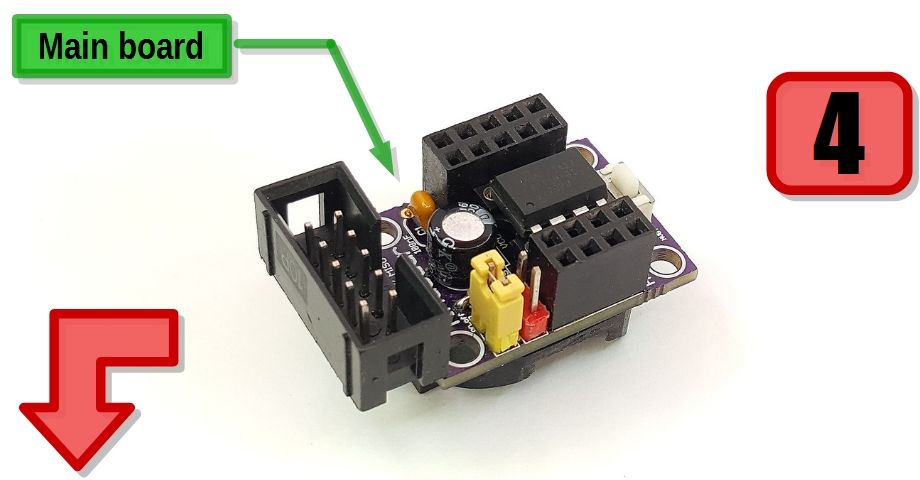
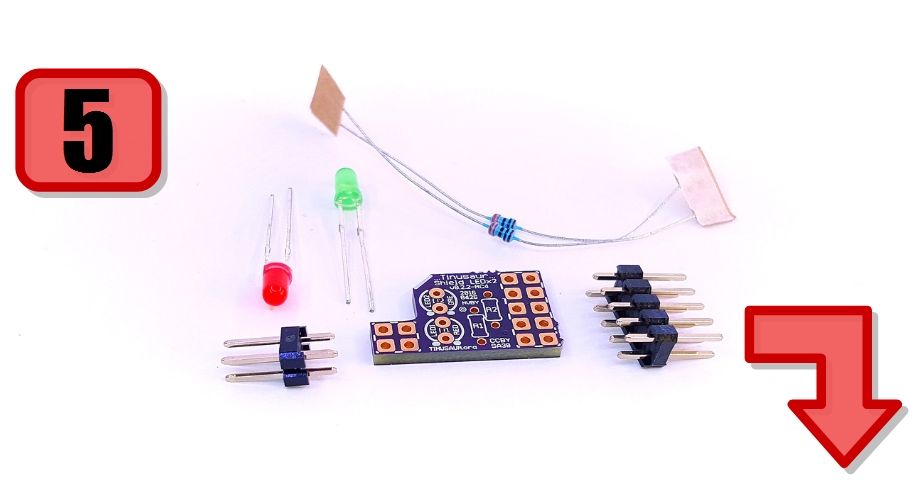
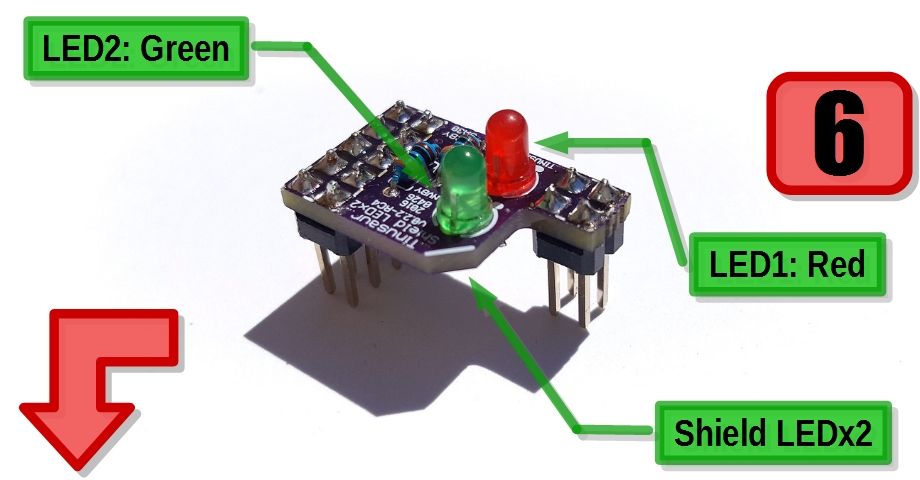
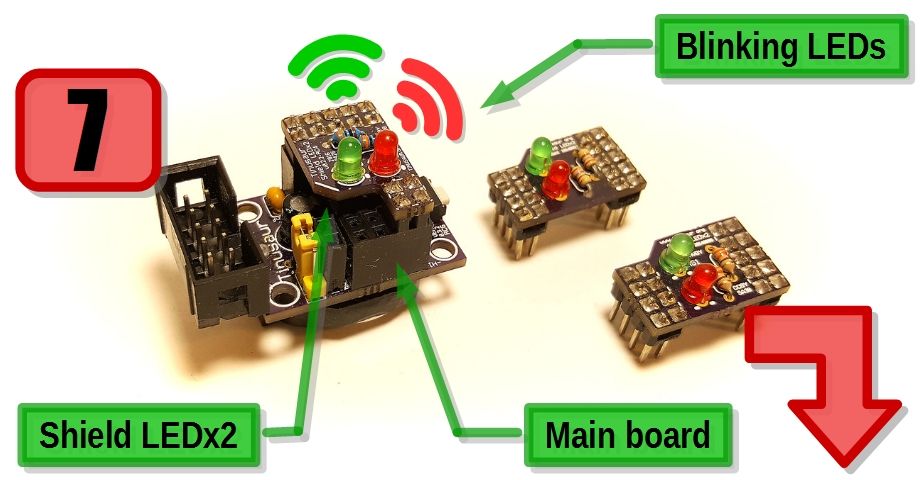
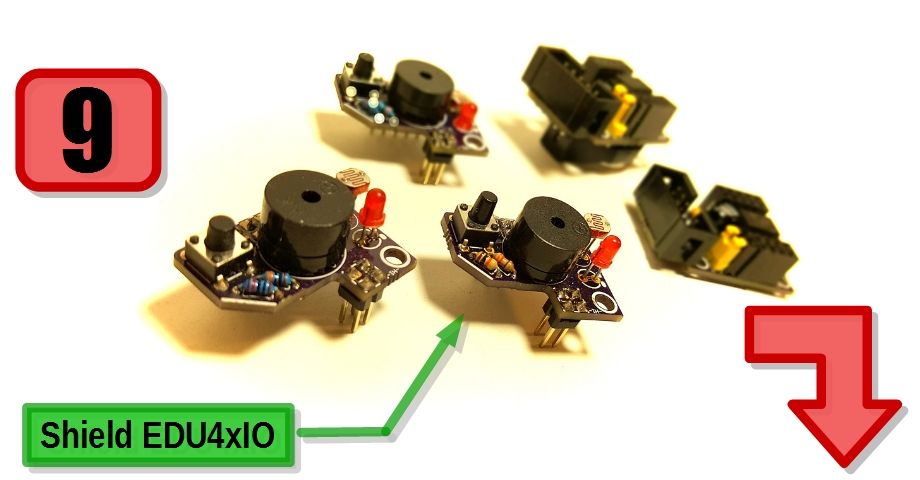
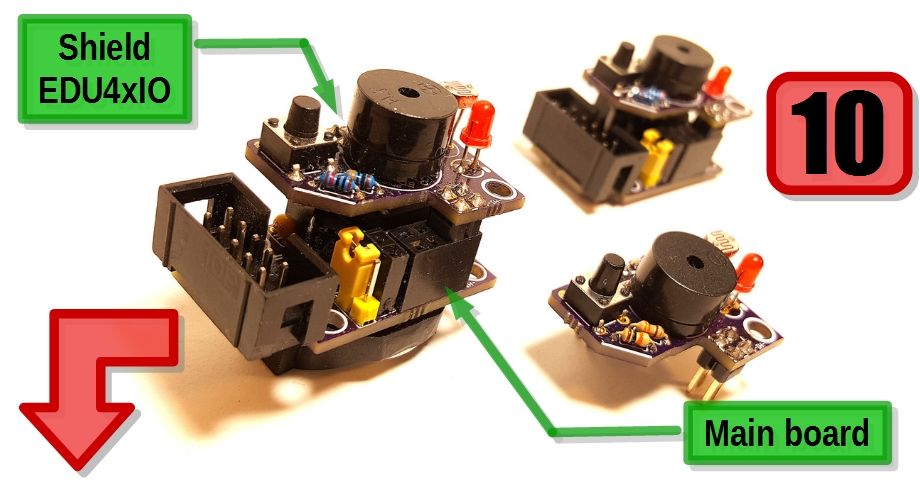
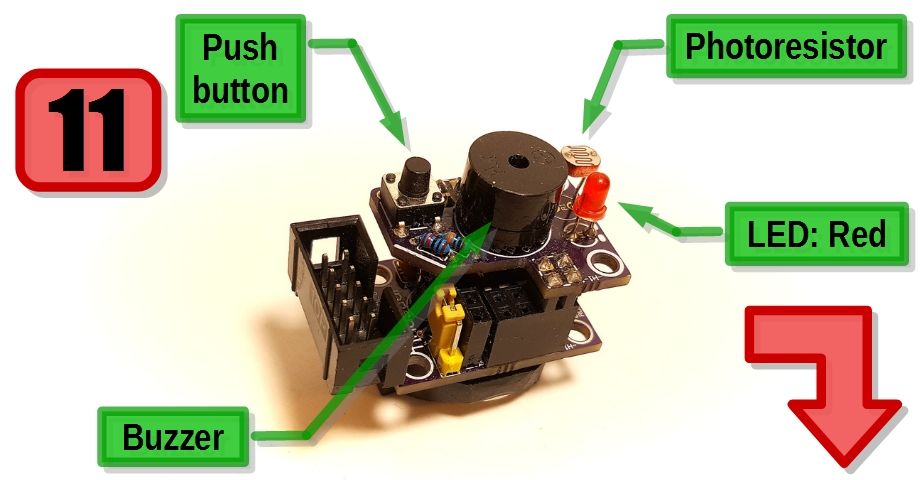
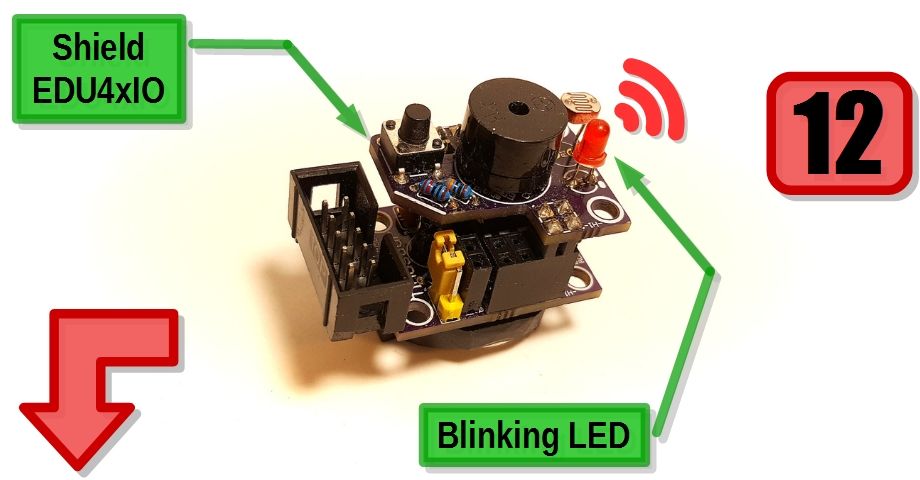
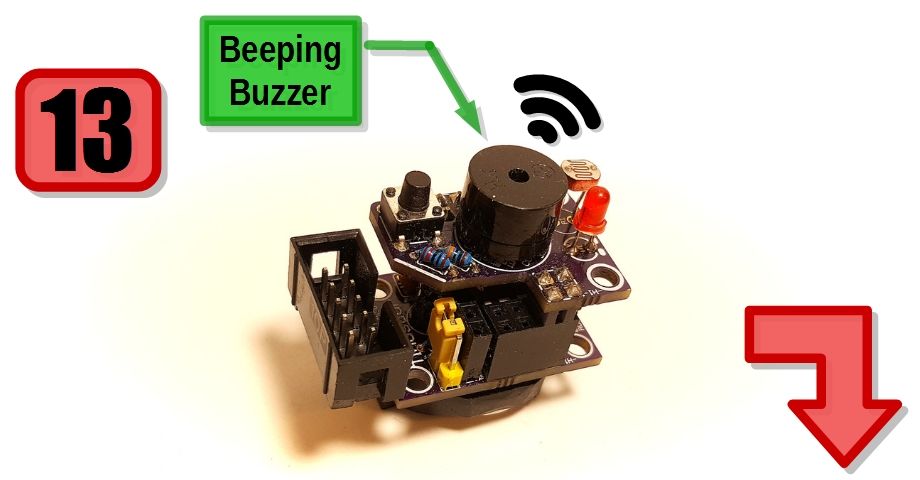
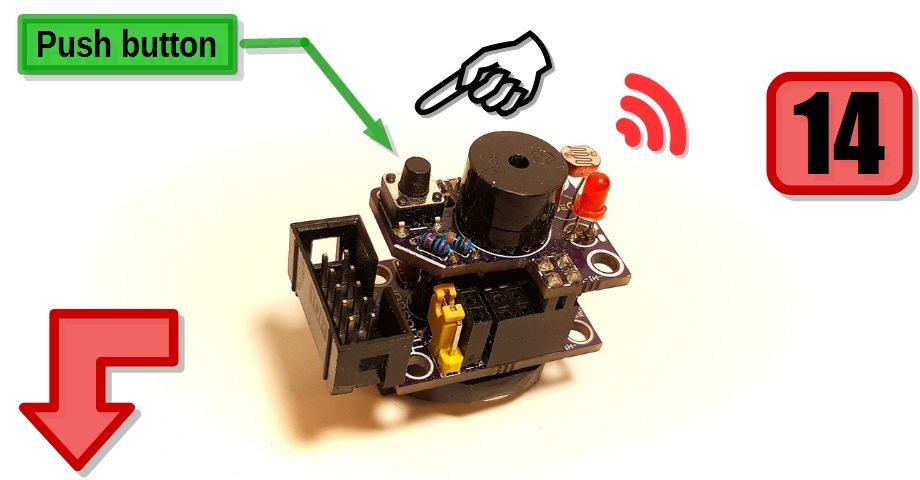
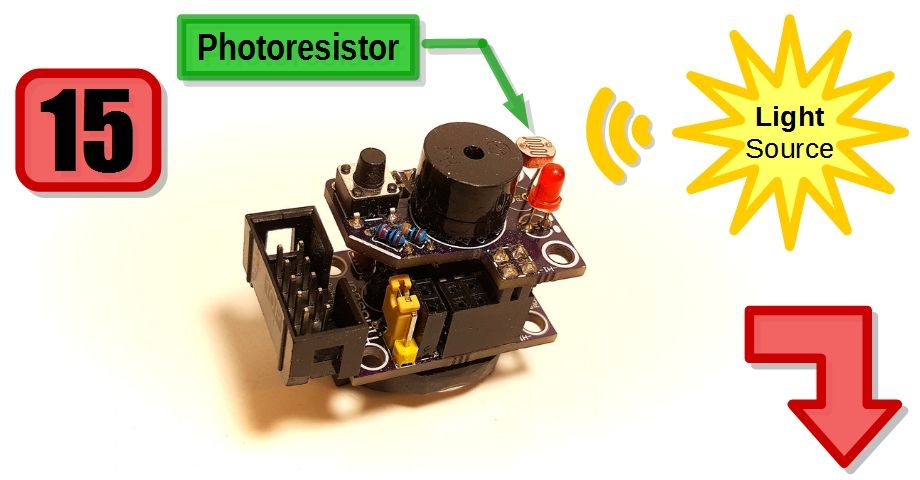
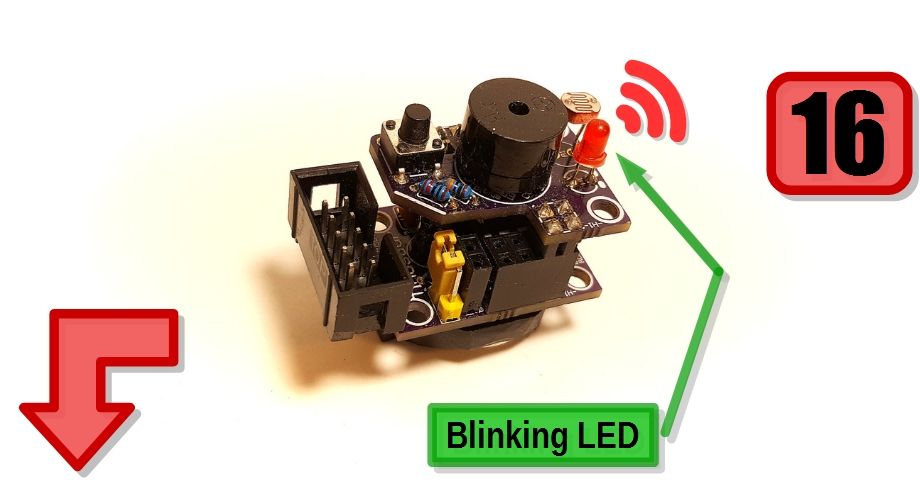
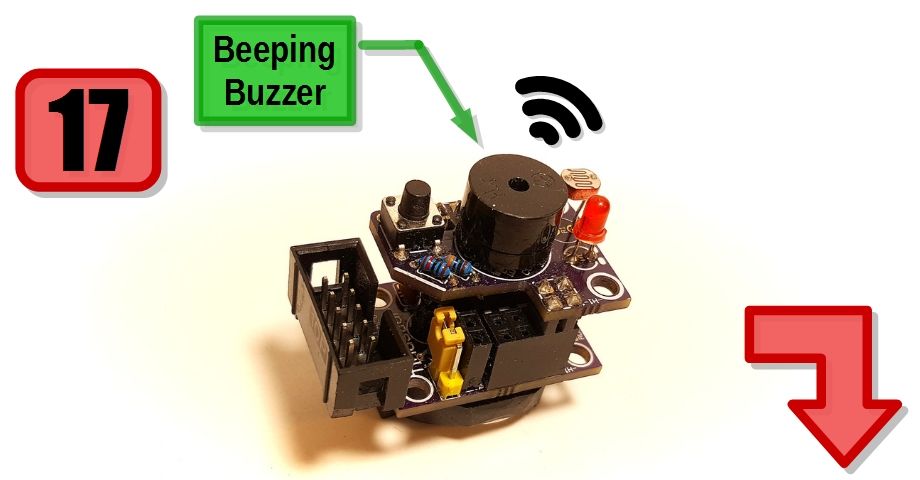
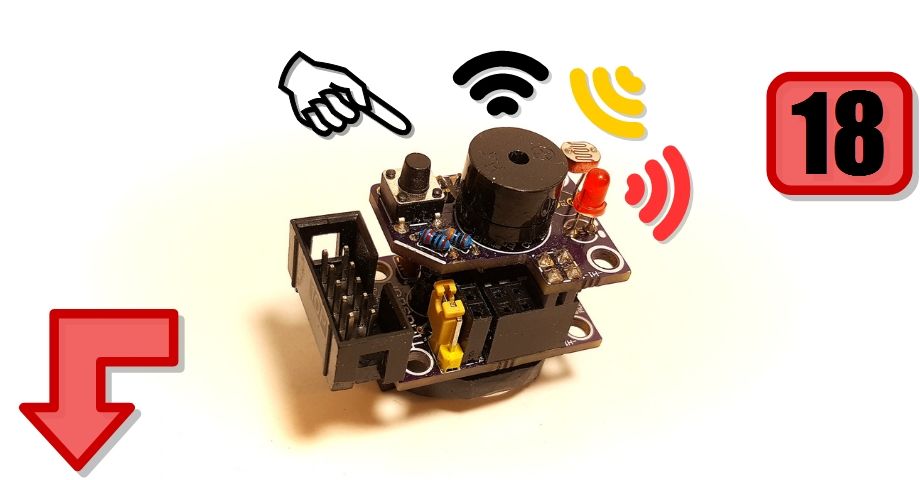
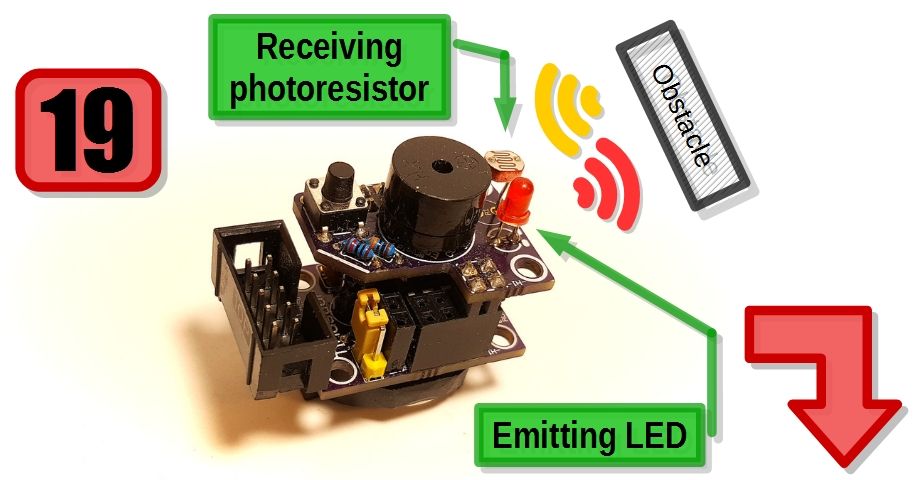
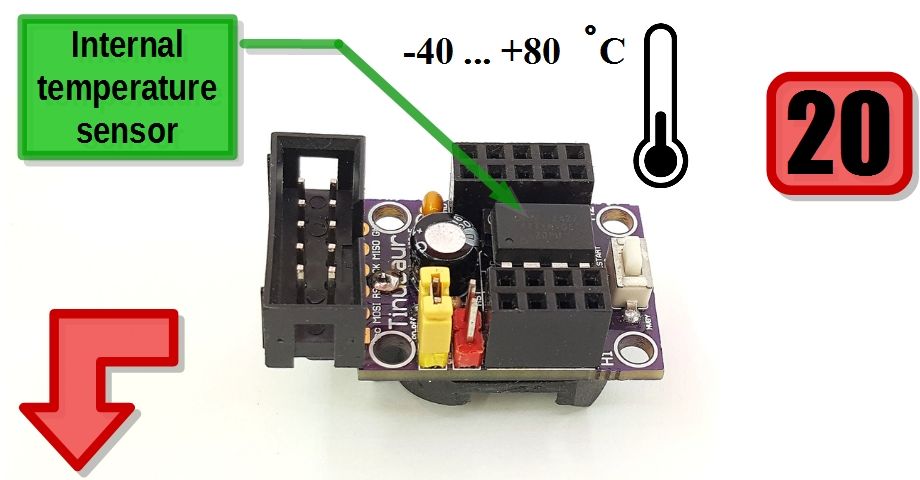
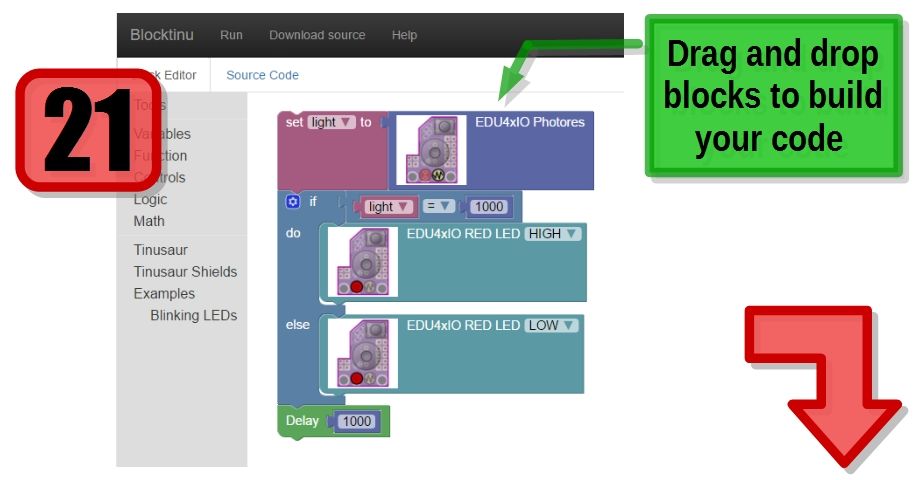
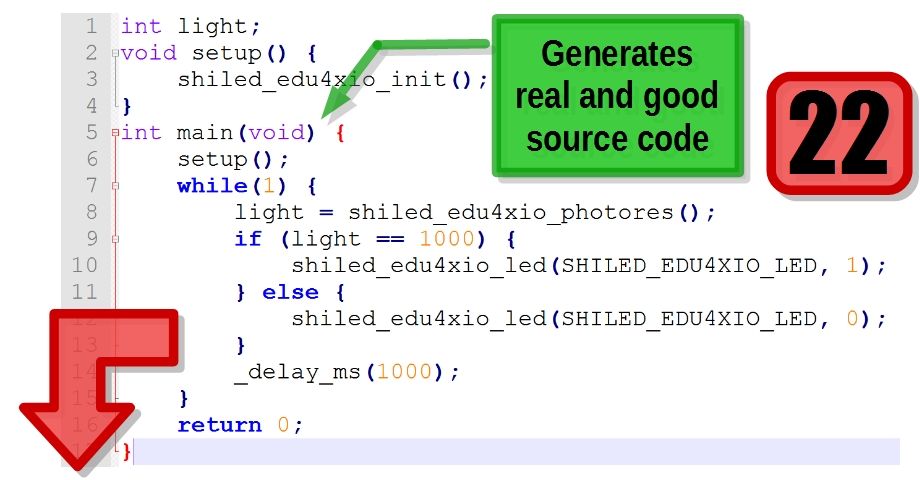
The Tinusaur hardware consists of few small boards with some electronic components on top. They come as assembly kits – small packages with parts. The Tinusaur main board is powered by the Atmel ATtiny85microcontroller.The Tinusaur board comes in parts, all in a small plastic bag, you get the chance to learn how to solder.Don’t worry – it isn’t that complicated – we’re preparing some videos that will walk you through the process. Check the Guides pages for more information.Once your main board is ready you could use some of our add-on boards, also known as “shields”, to add functionality to your microcontroller system.The Shield LEDx2 board comes in parts, like the main board, you have to assemble it yourself, but it isn’t very complicated.Once you’ve assembled your first boards, you can write your first program.The simplest program you can write is the blinking LED. That is the “Hello World” of the microcontrollers. Next step – little challenge: make both of the LEDs blink.The Tinusaur Shield EDUx4IO board comes in parts too, like the other boards, you have to assemble it yourself, and it isn’t complicated at all.Once you’ve assembled your board, you can write more interesting programs.This shield gives you more options and lets you learn more things.There are 4 different components on it: LED, Buzzer, Button, Photoresistor.Making the LED blink is a good start.The next step is to make the buzzer produce some sound.You can use the button to learn how to read the input data and make your code do different things when you press it.The photoresistor is a component that changes its electrical conductivity depending on the intensity of the light that is applied to it. In other words, you can measure the light intensity with the photoresistor.The LED could work in on/off mode but it could also fade-in and fade-out using what’s called pulse-width modulation or PWM for short.The buzzers could also work with PWM and that could be considered as analog mode i.e. it could produce sound with variable intensity.You could combine all the 4 parts to achieve more interesting results. Like using the button to switch between various modes of your program, or use the photoresistor to trigger different event depending on the light intensity.Now, an interesting trick. What if the LED emits some light, it reflects on an obstacle and goes back to the light sensitive element – our photoresistor. That is a proximity sensor that we’ve just created.A feature “hidden” inside of the microcontroller is an internal temperature sensor. You could make LED blink or buzzer sound if the temperature goes above or below a certain value.We created the Blocktinu platform that will allow you to start with the programming of your Tinusaur microcontroller system really quick. With it, you could simply drag and drop some blocks to implement your algorithms.The platform automatically generates the C source code. And the best part is that you can start learning the C programming language just by looking at the generated source, change your blocks and see how the source code changes.What else you could do with the Tinusaur project? Well, it is up to you to bring your new brilliant ideas to life.Check our website more often to see what new we’ve developed and added to the Tinusaur platform.
The Tinusaur Project is used in schools, universities, and clubs around the world.