The Tinusaur team was at the BETT Show in London

Meet Tinusaur team at BETT show London ExCeL

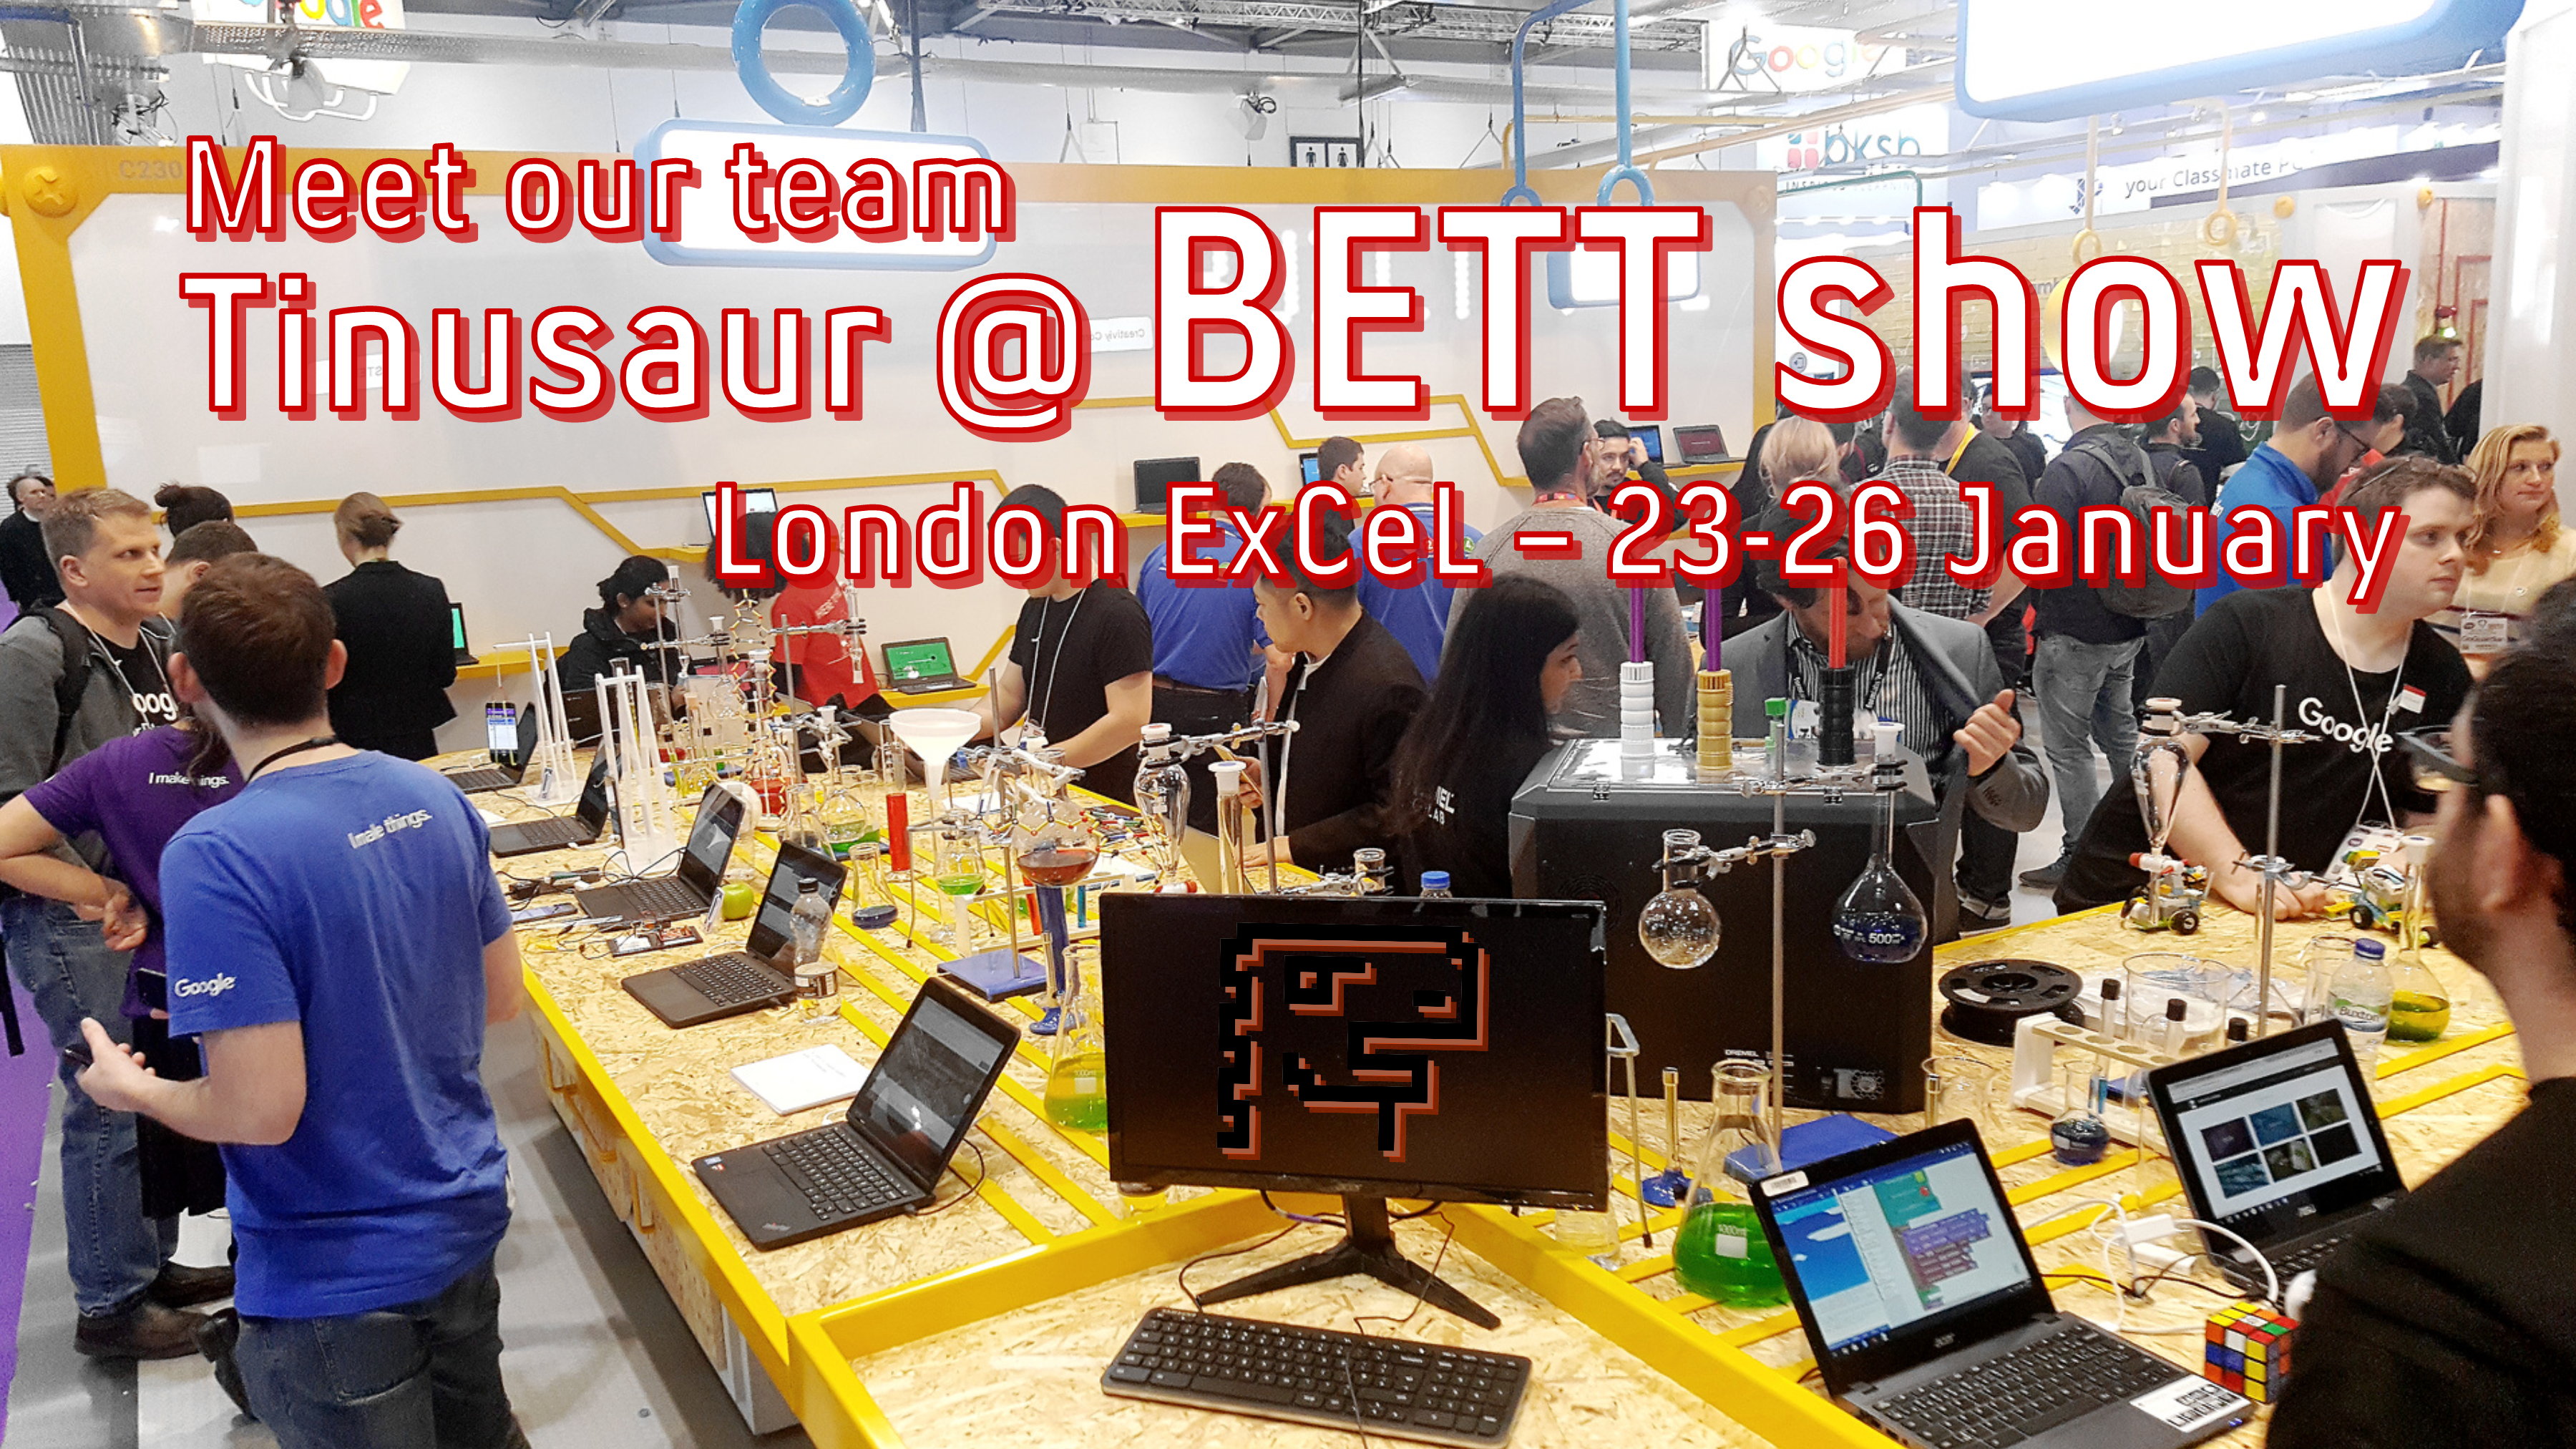
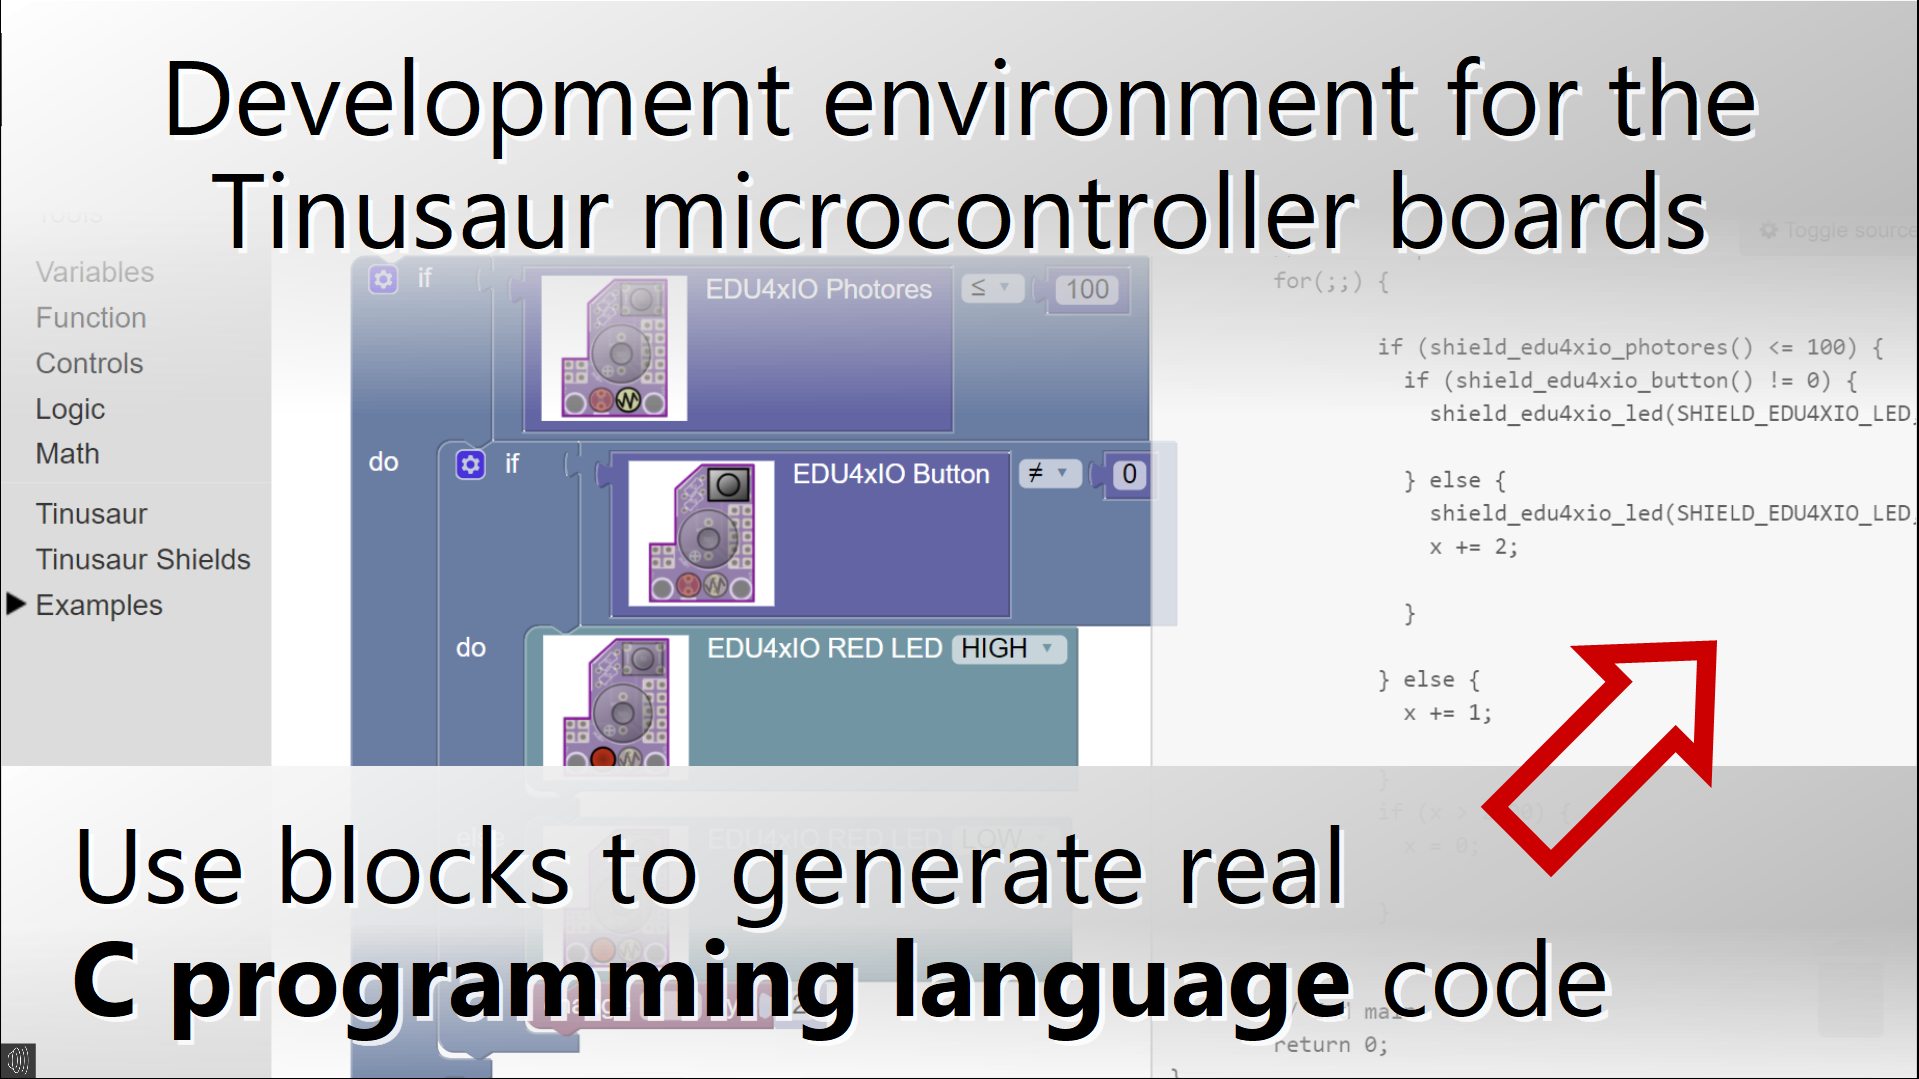
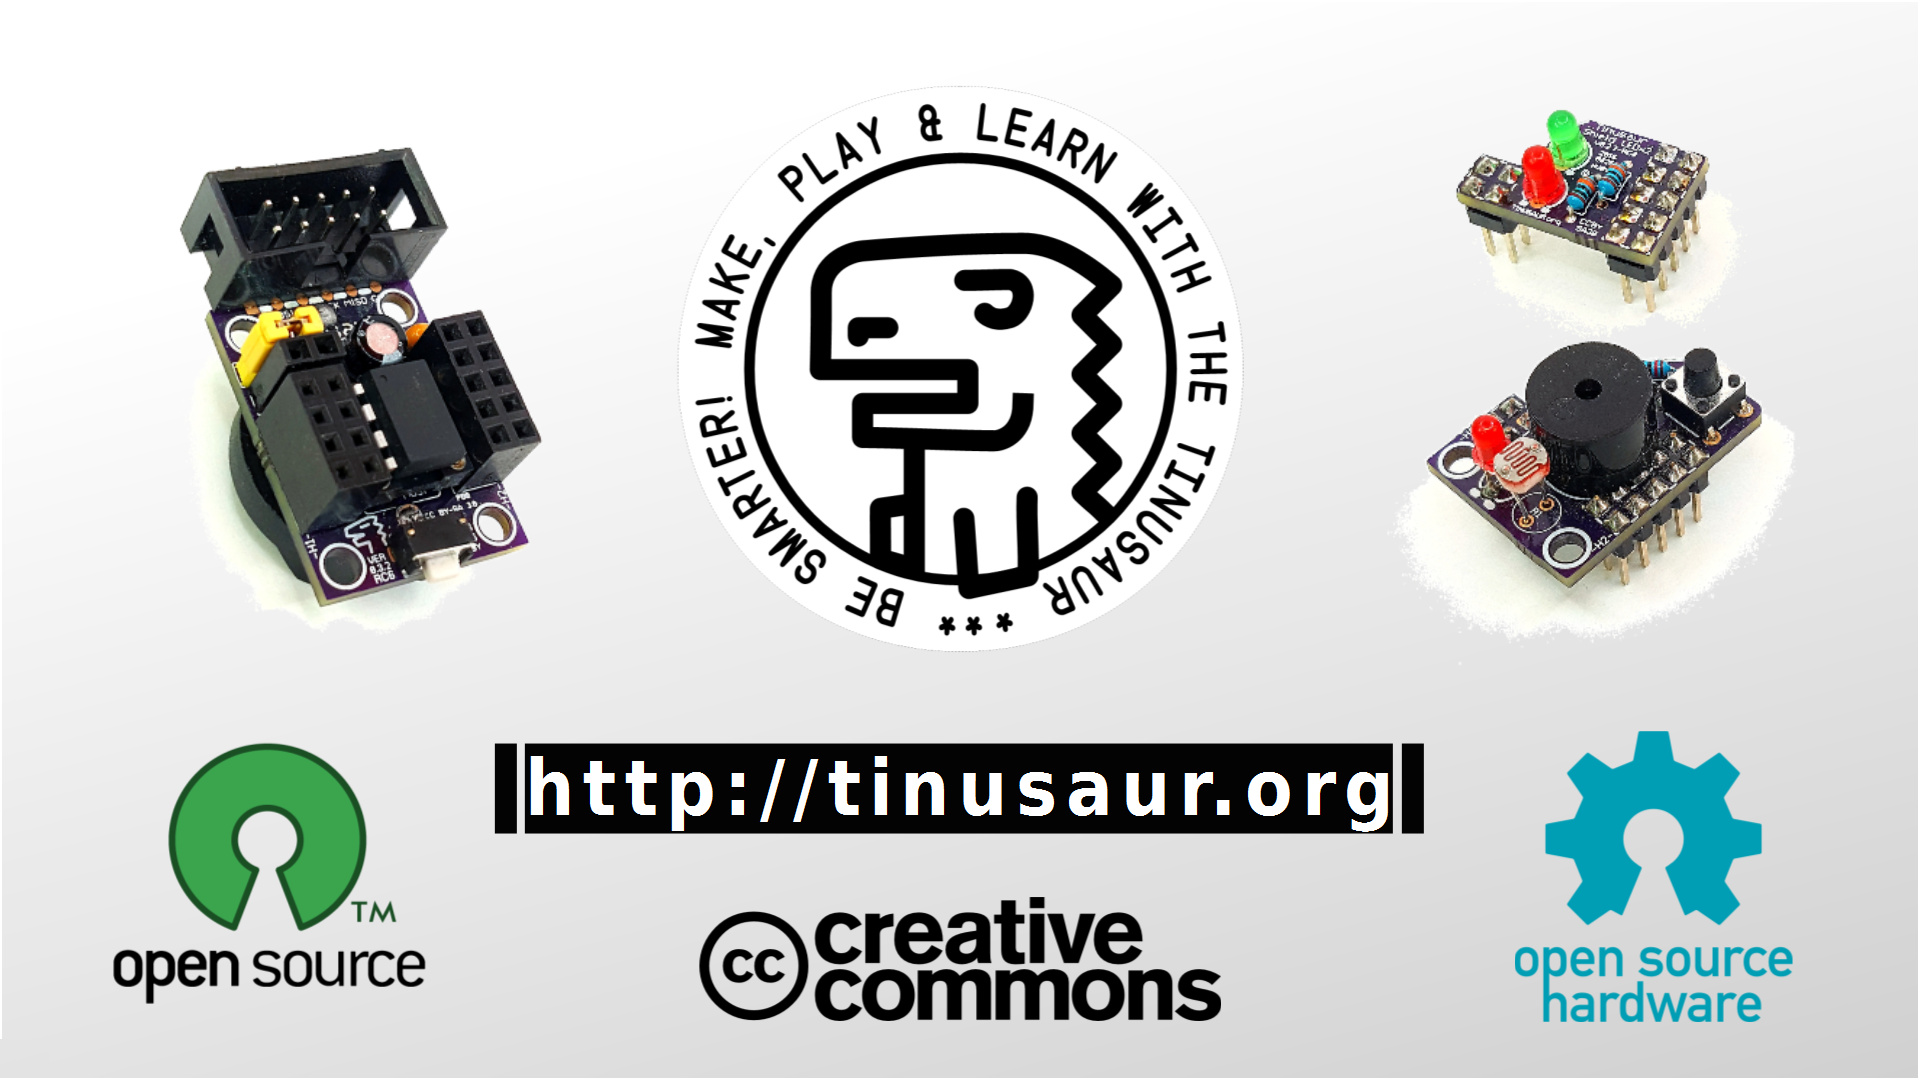
The Tinusaur Project is an educational platform that provides students, teachers, and makers with the tools to learn, teach and make things. We’ve been developing this since 2013 and it started because we needed such tools for our own courses. It is now used in a few schools and universities, both private and government in Bulgaria. The education, whether formal or informal, has always been the focus of the Tinusaur. Naturally, the BETT Show in London is one of the most interesting events of the year in that field.

BETT Show in London
BETT Show in London

The BETT Show is an annual trade show focused on innovations and technology in education. It takes place in London, United Kingdom, and started in 1985.

BETT Show in London
BETT Show in London – Learning Robotics

The Tinusaur team is at the BETT Show, of course, for the second time and it is great here!

BETT Show in London
BETT Show in London – Learning Robotics

What you immediately notice is that everyone has some sort of a robot – a car that you could control to make movements based on an algorithm, or a human-like stumping robot. And those who don’t have a robot – have at least a snapping blocks with electronics like LEDs, motors, servos, etc. that you could program with a Scratch-like environment. This sort of toys becomes a standard for education in electronics, robotics, and programming.

BETT Show in London
BETT Show in London – “Real” Robot

To us, this is a bit disconcerting. Most of those products turn education into a game or playing. Gamification is not just creating a game with which you might (or might no) learn something. It is rather implying the using of game-design elements to improve the process of learning without compromising the process of acquiring knowledge. Another concern that we have is that once you’re done with the playing and you have accomplished the task part of the educational toy you have to put it away and that’s it – you cannot use it to create something useful and practical.

BETT Show in London
BETT Show in London – Learning Robotics

We, at Tinusaur, are trying to avoid the downgrading of the educational part. That is why our kits may look a bit difficult and tedious at first. For the same reason, we decided to focus on C language programming, instead of some other scripting language.

Blocktinu WebUI
Blocktinu WebUI

Another thing we’re trying to do is make the kits equally good for learning and making. We think this is what makes us different. Our goal, from the very beginning, has been to create a platform where everything you learn and create could be used at a later point for something real, useful and practical. And over the years we found out that students really appreciate that.

Tinusaur OLED Display Кit

The Tinusaur OLED Display Kit is a very good example for that.

  • You learn how to solder and assemble the boards and the modules.
  • You learn how to program the microcontroller, read the sensor data and visualize it on the display.
  • You could later use the boards and optionally add other sensors and create something that you could use at home.
  • Your imagination is the limit.

We have just launched a crowdfunding campaign for the Tinusaur OLED Kit.

Help us start the production of the Tinusaur OLED boards. Go get your own Tinusaur OLED Kit.

Meet the Tinusaur team at the FOSDEM in Brussels, Belgium

Tinusaur Team at FOSDEM

We are launching a crowdfunding campaign for the Tinusaur OLED Display Kit and this its page: https://www.crowdsupply.com/tinusaur/oled-display-kit


Meet the Tinusaur team at the FOSDEM in Brussels, Belgium on February 2nd and 3rd.

Would you like to contact us and meet at the event or have a question about our platform? Fill out the form below.


Launched crowdfunding campaign for the Tinusaur OLED Display Kit

Tinusaur OLED Display Кit

We have just launched our crowdfunding campaign at Crowd Supply for the Tinusaur OLED Display Kit – a bundle of boards and modules that allows you to connect an ATtiny85 microcontroller to an SSD1306 OLED display. This is a kit so you have to assemble the boards yourself by soldering the parts to the PCB thus start learning about electronics and physics. It might sound complicated at first but these Tinusaur boards are very easy to assemble using the guides and tutorials that we provide. Once all the boards are assembled you could connect a DHT11 sensor module, measure temperature and humidity and show the results on the screen.

Tinusaur OLED Display Кit

With the Tinusaur OLED Display Kit, you get everything you need to start: the Tinusaur main board with the ATtiny85 microcontroller, the LED shield for test and learning, the OLED display shield, the SSD1306 OLED display, the DHT11 sensor module, a LiPo battery kit, and, a USBasp programmer.

The Tinusaur is an Open Source project – both the software and the hardware. Our own library for with the display, called SSD1306xLED, is considered one of the fastest for that display and microcontroller.

Check out the campaign page for details!

Launching Crowdfunding Campaign in January

Tinusaur OLED SSD1306xLED Crowdfunding Campaign

It looks like that our most popular software library is the SSD1306xLED. This is a library for working with OLED displays based on the SSD1306 controller. So, we decided to create a Tinusaur shield to carry an OLED display and we’re thinking about putting it up for crowdfunding this January.

What could you do it a Tinusaur Board and an OLED display?

There is an internal temperature sensor built into the ATtiny85 microcontroller and you don’t need any external components to use it. You can read its value and show it on the display.

Tinusaur OLED SSD1306xLED
Tinusaur OLED SSD1306xLED measuring temperature and voltage

We’ve figured a way to measure the battery level (or the power supply voltage) connected to the ATtiny85 microcontroller by using the PB5 (that is the RESET pin, yes) and one additional resistor. It is not very precise but could give you an indication, at least.

DHT11 module
DHT11 Module

You could also connect one of those popular DHT11 sensor modules, measure temperature and humidity and show it on the screen.

BM180 module
BM180 Module

You could also connect the Bosch BMP180 sensor module and measure barometric pressure and temperature, and show it on the screen. That will also allow you to calculate the altitude – pretty neat, isn’t it?

The official announcement with information about the start date, goals and other details is coming up in early January.

BLOCKTINU – The Development Environment for the Tinusaur – ATtiny85 Microcontroller Board

BLOCKTINU - The Development Environment for the Tinusaur

The Blocktinu is the development environment for your Tinusaur microcontroller boards where you could use blocks to produce real C programming language source code.

As you move your blocks (on the left) to implement your algorithms, the source code (on the right) will be automatically updated. Pretty neat, huh?

Now you can start learning the C programming language by playing with the blocks and looking at the changes in the source code that has been generated.

Once your program is ready it will be compiled in the cloud so no installation of any SDK will be necessary. The resulting binary code for the ATtiny85 microcontroller will be returned back to you.

The Blocktinu is part of the Tinusaur project.

The Blocktinu and the Tinusaur are open source projects. Both the software and the hardware!

The Blocktinu is almost ready for public use.

The Blocktinu is part of the Tinusaur crowdfunding campaign that we have launched on January 22nd, 2018.

Support our crowdfunding campaign. Get yourself a Tinusaur microcontroller board. You will receive early access to the Blocktinu development environment.

We have just passed the 10% mark!

We have just passed the 10% mark!

Dear friends,

Thanks a lot for your contribution to the campaign and for the support of our project. We have just passed the 10% mark! As usual, our campaign goes slow but steady.

Please, if you can, spread the word about our project, share it with people that might be interested.

All the best,
Neven Boyanov
The TINUSAUR Team.

https://igg.me/at/tinusaur


ANNOUNCEMENT: The Tinusaur Crowdfunding Campaign on January 22nd 2018

Tinusaur Crowdfunding Campaign on January 22nd 2018

Campaign link: http://igg.me/at/tinusaur
Project link: /

  1. A small robot car that you could build yourself and program it to follow a black line on the floor.
  2. A small game platform, that you could build and program yourself.

Those are the Tinusaur project goodies. They can help you learn, teach and make things with microcontrollers, and have fun at the same time. This is what the Tinusaur project is about.

Next Monday, on January 22nd we are launching a crowdfunding campaign to make more of those fun projects.

Join us at http://igg.me/at/tinusaur and subscribe for updates about the launch.


Good news, dear friends, and supporters! All of the parts are here …

Good news, dear friends, and supporters! All of the parts are here (except some of the green 3mm LEDs) and we started packaging everything else (except some of the LEDx2 Shields).

Quick stats about the bundles we have to package:
— Tinusaur Board LITE: 559 pcs
— Tinusaur Board STD: 182 pcs
— Shield LEDx2: 179 pcs
— Shield EDUx4IO: 160 pcs

So, starting next week we will be shipping the first packages. You will receive an individual message through the Indiegogo messaging when we ship your perks.

All the best,
The TINUSAUR Team.

Big fix: The Tinusaur Package for the Arduino IDE

Tinusaur Arduino IDE Package Bug Fix

UPDATE: There is an updated version of the Arduino Setup Guide at our new website https://tinusaur.com/guides/arduino-ide-tinusaur-setup/

We’ve recently discovered a bug in our Arduino IDE package that will cause an error when you try to compile your code.

We have a fix for it and the only thing you need to do is to update the package.

Here is how:

  1. Start your Arduino IDE
  2. Go to the menu Tools / Board … and then “Board Manager …” at the top.
  3. Wait for a while until the list is updated from the Internet.
  4. Scroll all the way down to the bottom until you see the “Tinusaur Boards“.
  5. Click on the item and see the “Update” button.
  6. Press the “Update” button.

Enjoy! 🙂

If you don’t have the package installed yet follow the instructions for setting up the Arduino IDE with the Tinusaur boards.

If you don’t have a Tinusaur board yet 🙂 go to our Indiegogo Campaign InDemand option and get one.