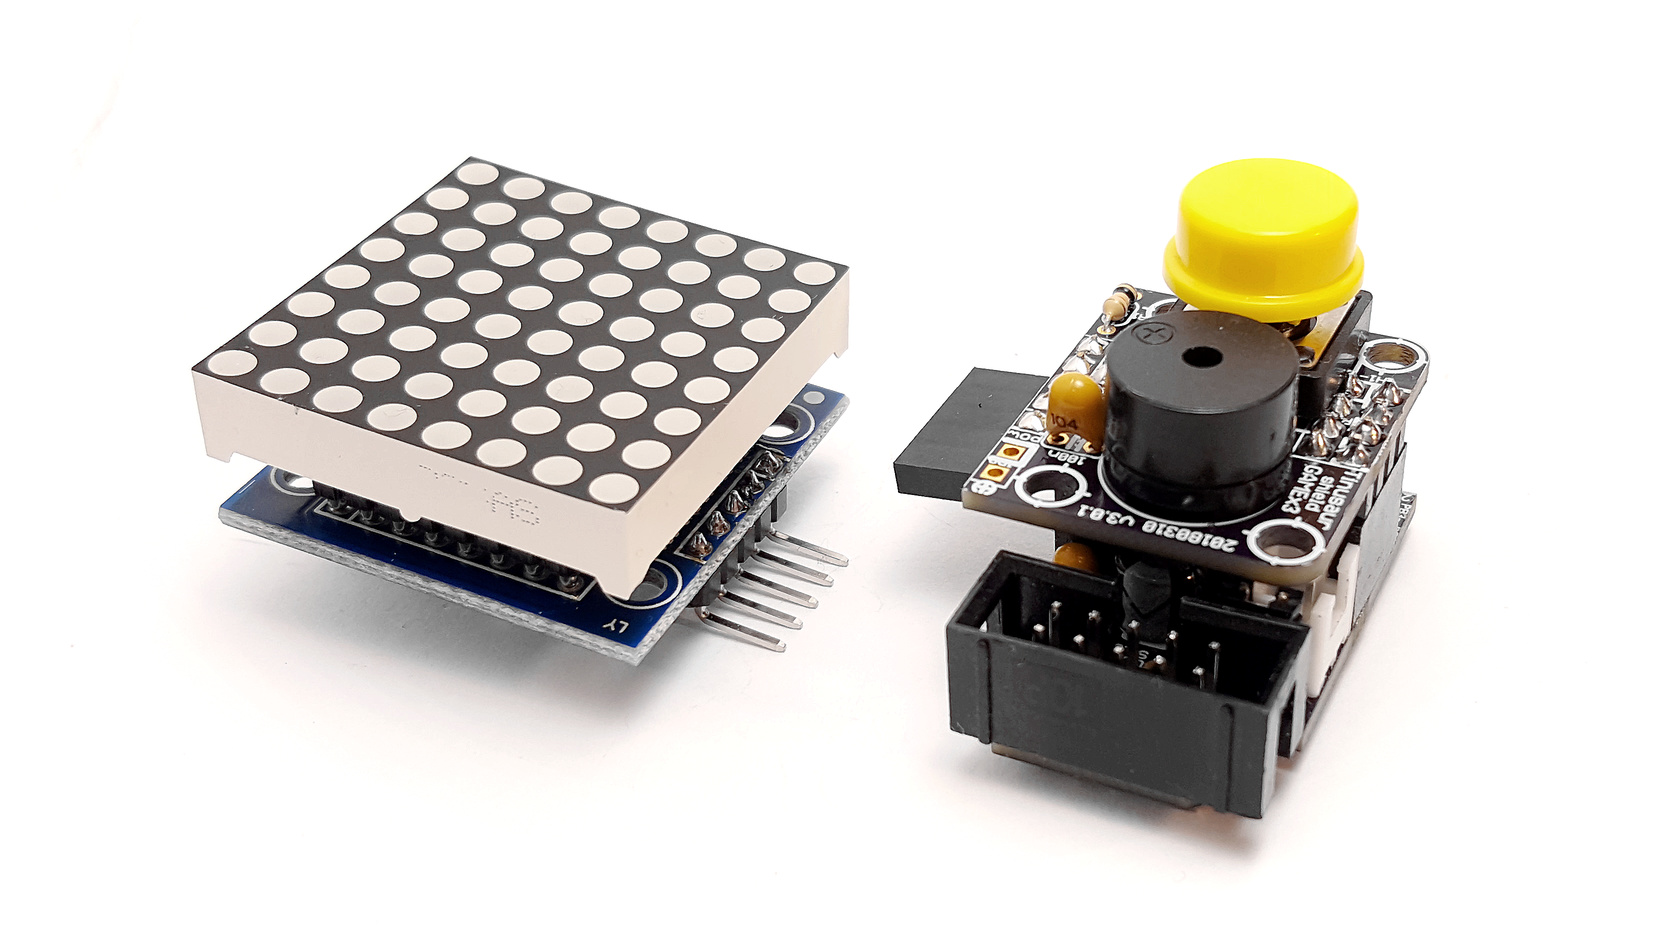
How to connect MAX7219 to an ATtiny85 and work with an 8×8 LED Matrix
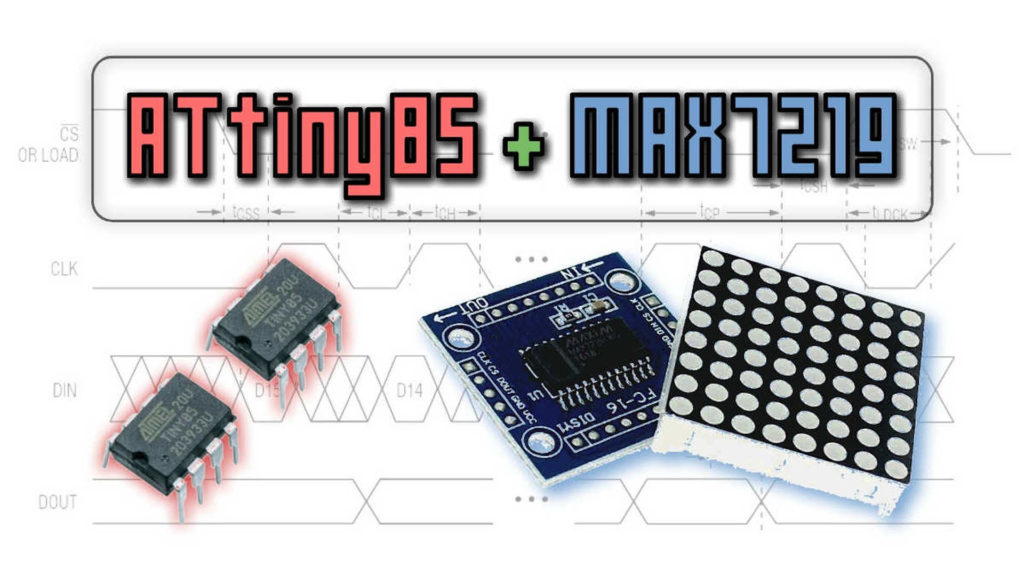
What’s our goal? To connect a MAX7219 based LED Matrix module to an ATtiny85 microcontroller and control the LEDs. Doesn’t sound very complicated, right? The Titorial We wrote a short tutorial about how MAX7219 modules work, how to connect them to ATtiny85, and how to write a simple library to work with them Continue reading the MAX7219 ATtiny85 tutorial here. Please, leave … Read more