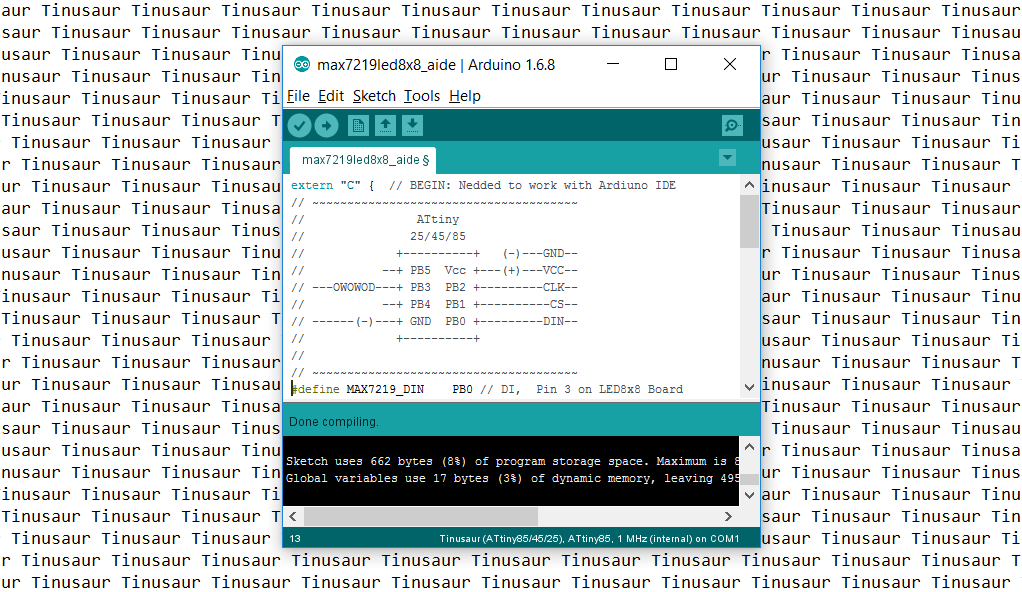
How to Setup the Arduino IDE to Work with the Tinusaur Boards

Arduino IDE for Tinusaur Boards

UPDATE: There is an updated version of the Arduino Setup Guide at our new website https://tinusaur.com/guides/arduino-ide-tinusaur-setup/

This is a short guide how to setup the Arduino IDE to work with the Tinusaur boards.

What it does basically is to make it work with the Atmel ATtiny85/45/25 microcontrollers. The only difference is that it will appear on the list of boards as Tinusaur – this is done for convenience, so relatively inexperienced people won’t get confused by the long list of unknown boards and microcontrollers.

Installing the Arduino IDE

First of all, we need the Arduino IDE itself. It could be downloaded from https://www.arduino.cc/en/Main/Software – the official Arduino website. The current version at the time of writing this guide was 1.6.8 but should work with all the most recent versions.

Start the Arduino IDE first.


Adding Support for the Tinusaur Boards

Go to the menu File / Preferences.

Find the “Additional Boards manager URLs” and the button on the right that will open an edit box.

Put the following URL in the edit box:

https://bitbucket.org/tinusaur/arduino-ide-boards/raw/default/package_tinusaur_attiny_index.json

NOTE: It is possible to have multiple URLs as long as they are put on separate lines.

Close the edit dialog by pressing “OK”. Close the “Preferences” dialog by pressing “OK”.

Go to the menu Tools / Board:… / Boards Manager.

This will open an additional dialog window with boards information.

You may need to wait until all data is loaded.

From the drop-down menu “Type” choose the “Contributed” item.

Locate the “Tinusaur Boards” item and click on it.

Press the “Install” button. That will install the necessary files into the Arduino IDE.

Close the dialog by pressing the “Close” button.

Setup to use the Tinusaur Board

Go to menu Tools / Board:…

The Tinusaur should be available somewhere at the bottom of the list. Choose the Tinusaur.

It is important to setup the other parameters for the board.

Go to menu Tools / Processor:… and choose the appropriate CPU type. If unsure choose ATtiny85.

Go to menu Tools / Clock:… and choose the appropriate CPU frequency. If unsure choose 1 MHz.

Go to menu Tools / Programmer:… and choose the appropriate programmer. If unsure choose USBasp.

That’s it.

Another version of this guide but with screenshots is available at the Arduino IDE Setup page.

New Product: Tinusaur Shield LEDx2

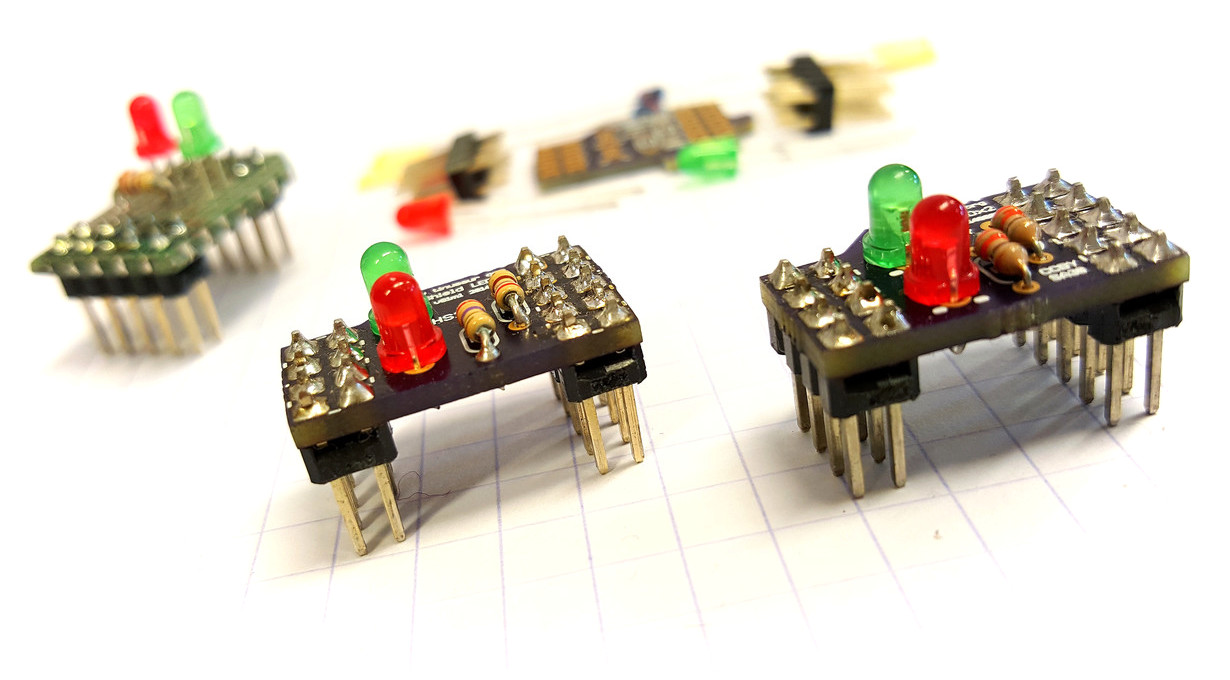
Tinusaur Shield LEDx2

As we’ve mentioned earlier (What is happening with this project?) we were working on shield-like add-on board for the Tinusaur Board.

So here it is …

Tinusaur Shield LEDx2 Parts

It has only 2 LEDs and 2 resistors for each LED so no much to solder.

This shield aims at 2 things – making it easier to …

This shield has its own page at Products / Tinusaur Shield LEDx2.

Tutorial 002: Fading LED x1

Another beginners tutorial is on the way – this time about a fading in and out LED.

This is simple tutorial that shows how to connect a LED to the ATtiny85 based Tinusaur board and write a program that makes the LED to fade in and out using PWM (pulse-width-modulation) technique.

PWM Diagram

Note: The code in this tutorial does not use the built-in PWM capabilities of the ATtiny microcontrollers, instead it uses direct bit manipulation since this an easier way to understand how it works. Another tutorial should cover the PWM functionality that is built into the microcontroller.

Tinusaur Board with LED

The Tinusaur board is a standard ATtiny breakout board so this could be applied to almost any other board that has ATtiny microcontroller on it. The code was tested to work with ATtiny13, ATtiny25, ATtiny45 and ATtiny85 but will probably work on any other ATtiny microcontrollers as well.

Please go to Tutorial 002: Fading LED x1 to see the full document.

You can also check the Tinusaur Board – Assembling Guide and the WinAVR – Setup Guide.

(UPDATED) Tutorial 001: Blinking LED

Tinusaur Tutorial 001 schematics

Our first tutorial Tutorial 001: Blinking LED (that’s the older one) was just updated and put under the Tutorials menu.

This is very simple tutorial that shows how to connect a LED to the Tinusaur board and write the “Hello World” of the microcontrollers – very simple program that makes a LED to blink.

Since the Tinusaur board is a very standard ATtiny breakout board this could be applied to almost any other board that has ATtiny microcontroller.

The code was tested to work with ATtiny13, ATtiny25, ATtiny45 and ATtiny85 but will probably work with other microcontrollers too.

Please go to the Tutorial 001: Blinking LED x1 page to see the full document.


The Tinusaur Online Store Opens

Tinusaur Starter

Finally, our online store is up and running.

We received some emails asking if we could offer the boards and the parts for purchasing … so we did it. We have to admit that it took us some time to arrange everything but some of the circumstances were beyond our control.

At the moment we have only one product listed – that’s the Tinusaur Starter.

Go to this tinusaur.storenvy.com/products/6076006-tinusaur-starter link if you’d like to buy it.

Tinusaur Starter Buy at Storenvy

We have put up for sale very small batch of those starter kits as we don’t know what the interest will be. Please note that at the moment we don’t do this as a business and we do not make any profit – the sale only covers our expenses.

More information about the Tinusaur Starter kit is available at the Tinusaur Starter page.

IMPORTANT: This is offered as a kit which means that you have to assemble it yourself.

We chose Storenvy for our shopping site and we think that it was a good choice – it’s easy to setup and use but also provides all the functionality that we need at this stage. You can pay for your orders with PayPal.


All parts and boards arrived

Tinusaur PCB boards by OSHPark

Dear friends, I’m glad to inform you that all the parts and the boards finally arrived.

So we’re ready to offer the Starter Kit to those that are interested.

Boards were produced by OSHPark – they look great, as usual.

Tinusaur PCB boards by OSHPark

We also received a small batch from SeeedStudio – cheaper but still looks good.

We are now preparing the purchasing option – a PayPal button or may something more complex – we haven’t decided yet. There is this “Start your own online store front” list of options that we consider looking at. Any feedback or shared experience we will appreciate very much.

Initially, we will put up for sale a very small batch – 20 or so packages – we don’t know what the interest will be, but we have the capacity to ship about 80 more.


Tinusaur Starter: We are making a beginners kit

Tinusaur Starter Kit

To start making things with the Tinusaur you need the board, the parts, a programmer with a cable and couple of LEDs to make your first blinking lights program for ATtiny85 microcontroller.

Tinusaur Starter Kit for Beginners PartsWe’re ordering the PCBs and the parts from the manufacturers and it seems that the total cost for the full package will be 8 to 9 USD. Once we have everything here we’ll run a small test sale to see what’s the interest in the kit. The estimated cost for delivery of the kit to any country in the world is about 2 USD. So the total cost to get it would be 10 to 11 USD – very affordable for everyone.

Here is a list of everything that will be included in the Tinusaur Starter:

Name Description
PCB Tinusaur Board
MCU, Attiny85 Atmel AVR ATtiny85 microcontroller
Socket, DIP-8 DIP-8 socket for MCU
H1, Header Header 2×4, Female
H2, Header Header 2×5, Female
ISP, Header Header 2×5, Male, for ISP
RESET, Button Tactile push button, for RESET
Power, Header Header 1×2, Male, for external power
Battery, Header Header 1×2, Male, for battery power on/off
Battery, Jumper Jumper, 2-pin, for battery power on/off
C1, Capacitor Capacitor 100uF, Low profile 5×5 mm
C2, Capacitor Capacitor 100nF, Small
R1, Resistor Resistor 10K, Small, 1/8W
Battery holder Battery holder for CR2032
Battery 3V Battery 3V, CR2032
LED1 LED, 3mm, red
LED2 LED, 3mm, green
Resistor (LED1) Resistor 330 ohm, Small, 1/8W, for LED
Resistor (LED2) Resistor 330 ohm, Small, 1/8W, for LED
Header (LED1) Header 1×2, Male, for LED
Header (LED2) Header 1×2, Male, for LED
ISP Programmer USB ASP, with 10-pin connector and cable
Packaging Packaging bag, plastic

Check more often Twitter, Facebook, Google+ and The Tinusaur Project site for news about this kit.