Big fix: The Tinusaur Package for the Arduino IDE
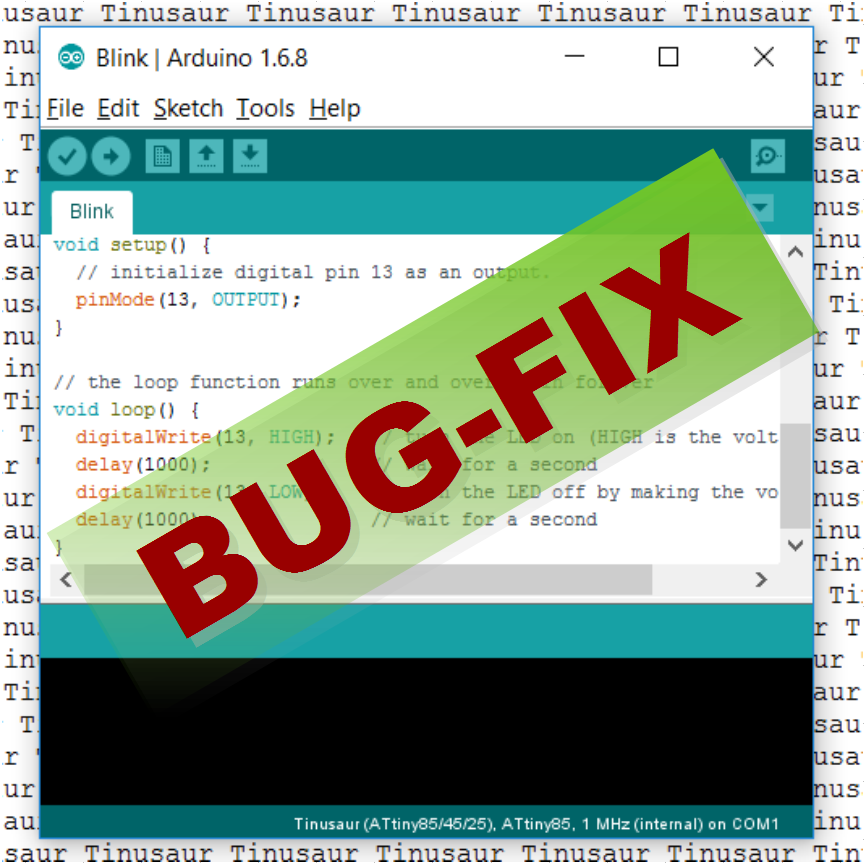
UPDATE: There is an updated version of the Arduino Setup Guide at our new website https://tinusaur.com/guides/arduino-ide-tinusaur-setup/ We’ve recently discovered a bug in our Arduino IDE package that will cause an error when you try to compile your code. We have a fix for it and the only thing you need to do is to update … Read more

