Almost at the end of our Indiegogo campaign

Tinusaur PCB

We’re almost at the end of our Indiegogo campaign and as you might be aware there is a delay in the production of the kits.

At TINUSAUR we strive to achieve the higher quality of the products. Unfortunately, while making the PCBs, the most important part of our boards, and working with some new suppliers, we were not happy with the quality of the production. Luckily, the great guys at OSHPARK jumped in and helped us get the PCB we need at the cost we could afford to keep the price points of our product low and affordable.

Good news – all the PCBs arrived a few days ago. We’ve assembled few pieces of them to make sure everything is fine and, with the exception of few minor glitches, all is good and ready to go.

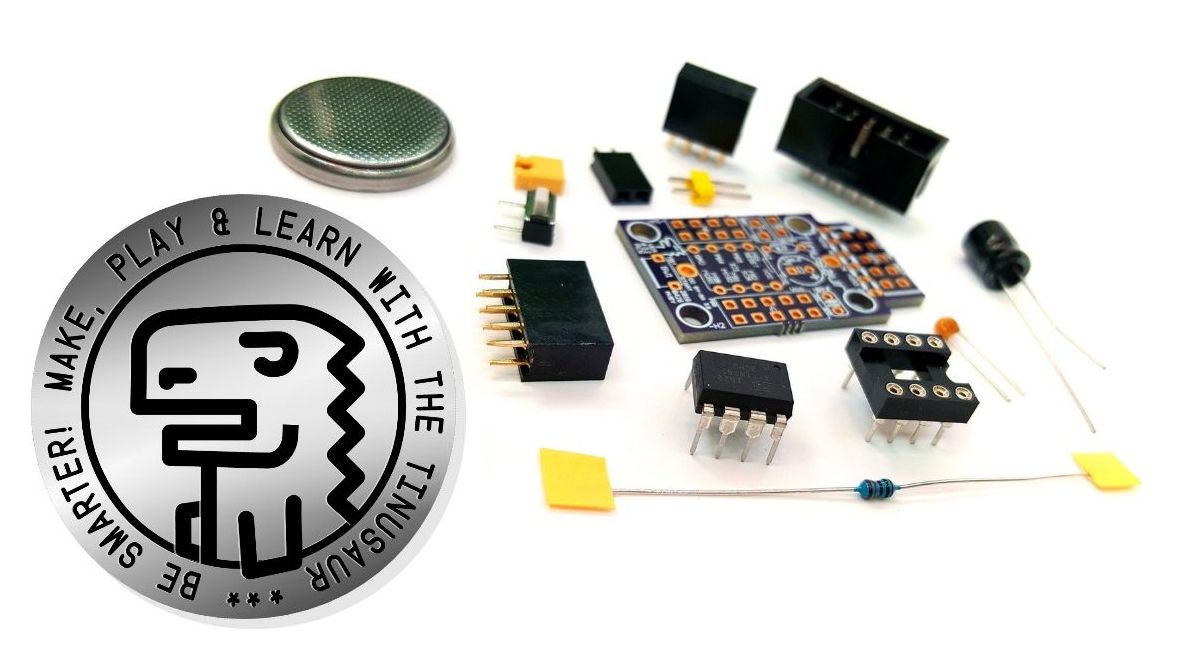
Tinusaur Board Assembled

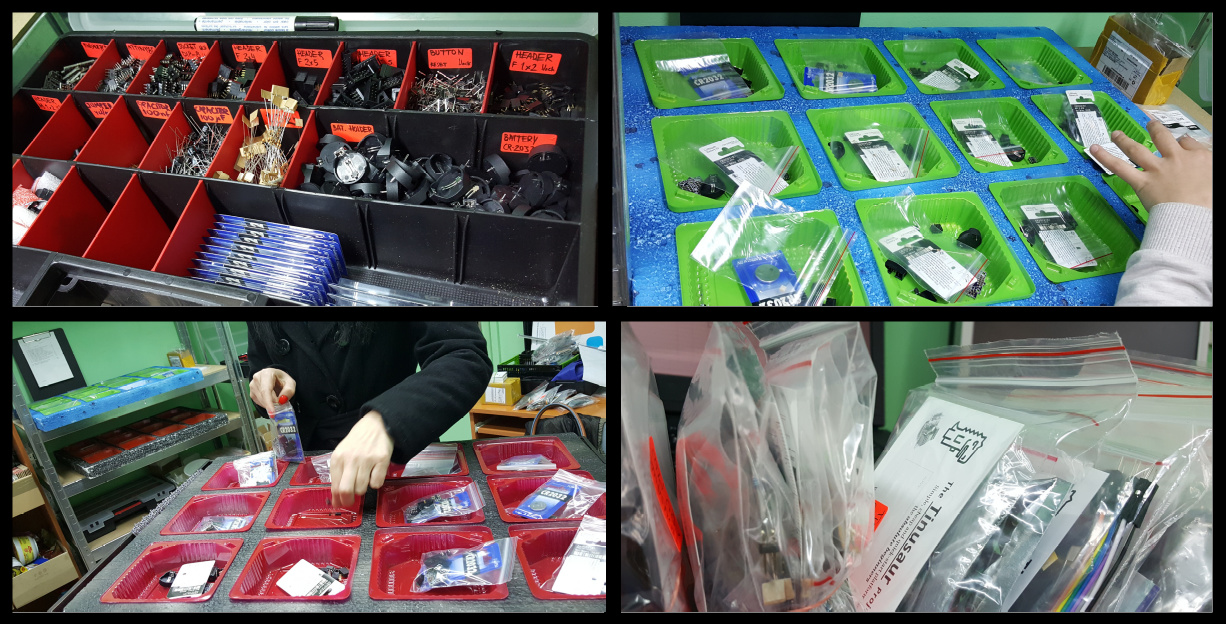
This week we are packaging the broads and the components.

Next week we will start shipping the first batches of kits to the supporters.

Short Video about the Tinusaur Project

The Tinusaur Project

This is a short 2-minute video explaining what is the Tinusaur project about, who is it good for and what you could do with its microcontroller and shield boards.

The Tinusaur is a small microcontroller board with a tiny chip on it.

The Tinusaur board is powered by the popular Atmel ATtiny85 microcontroller. It comes as an assembly kit: a small package with parts – you get the chance to learn how to solder it. Don’t worry, it isn’t that complicated. This circuit is so simple that there are very few things that could go wrong.

Once your mainboard is ready you could start learning by making and playing using our shield boards.

Our shield called LEDx2 has 2 LEDs – Green and Red. It comes also in parts, so you have to assemble it yourself. You can make its LEDs to blink. For example: like the traffic lights.

Want to do more?

We also have the EDUx4IO shield designed primarily for education. It has 4 different components on it: LED, Buzzer, Button, Photoresistor. With the LED and the Buzzer, you have 2 ways to output digital and analog signals. With the Photoresistor and the Button, you have 2 ways to input digital and analog signals.

There is also temperature sensor built into the ATtiny85 microcontroller chip.

Some of you should’ve received their packages already.

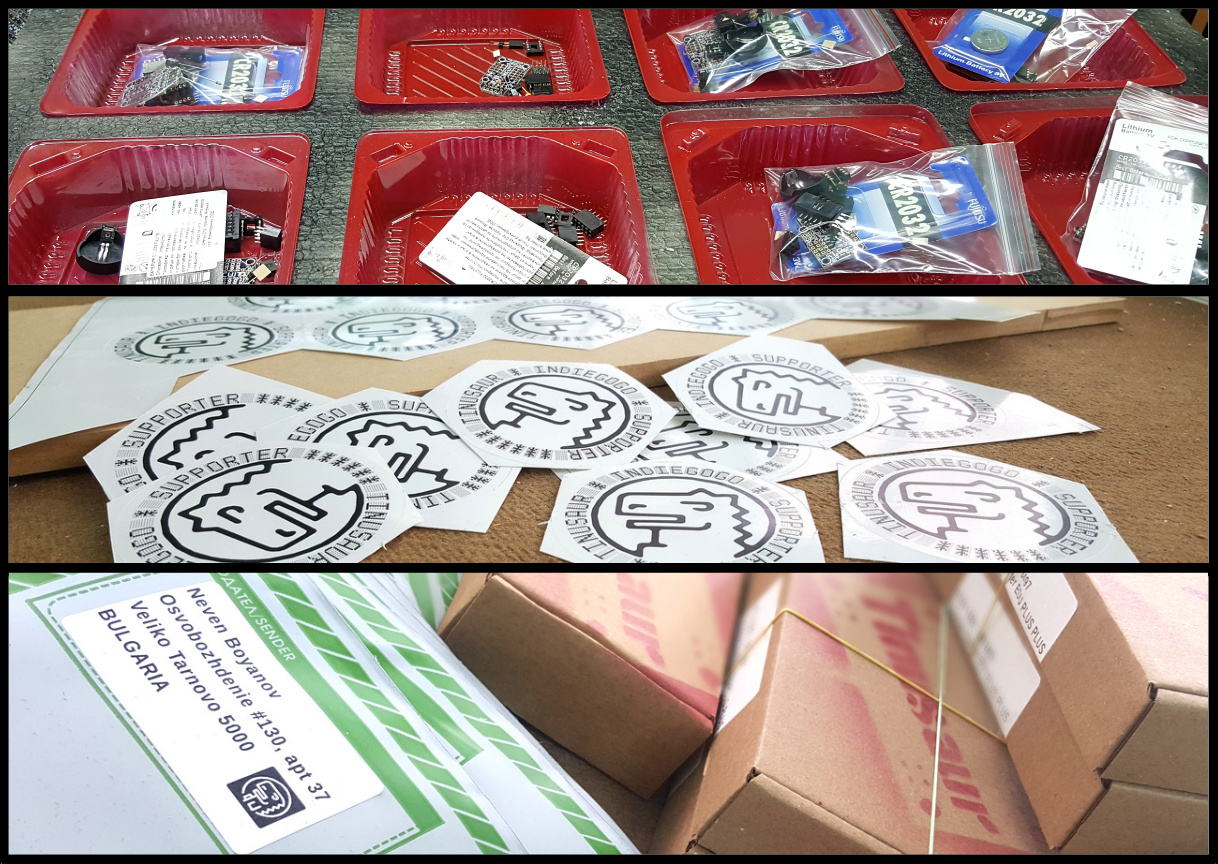
Tinusaur Indiegogo Campaign Packaging and Shipping

Some of you should’ve received their packages already.

Please, do us a favor!

  • Let us know by email that you’ve received it;
    or, even better …
  • Tweet about it with hashtags #TINUSAUR and #received
    or, the best:
  • Share it on Facebook with hashtags #TINUSAUR and #received

Thanks again for your support.

All the best,
The TINUSAUR Team.

Good news, dear friends, and supporters! All of the parts are here …

Good news, dear friends, and supporters! All of the parts are here (except some of the green 3mm LEDs) and we started packaging everything else (except some of the LEDx2 Shields).

Quick stats about the bundles we have to package:
— Tinusaur Board LITE: 559 pcs
— Tinusaur Board STD: 182 pcs
— Shield LEDx2: 179 pcs
— Shield EDUx4IO: 160 pcs

So, starting next week we will be shipping the first packages. You will receive an individual message through the Indiegogo messaging when we ship your perks.

All the best,
The TINUSAUR Team.

ATtiny85 and ESP8266 – do you really need that?

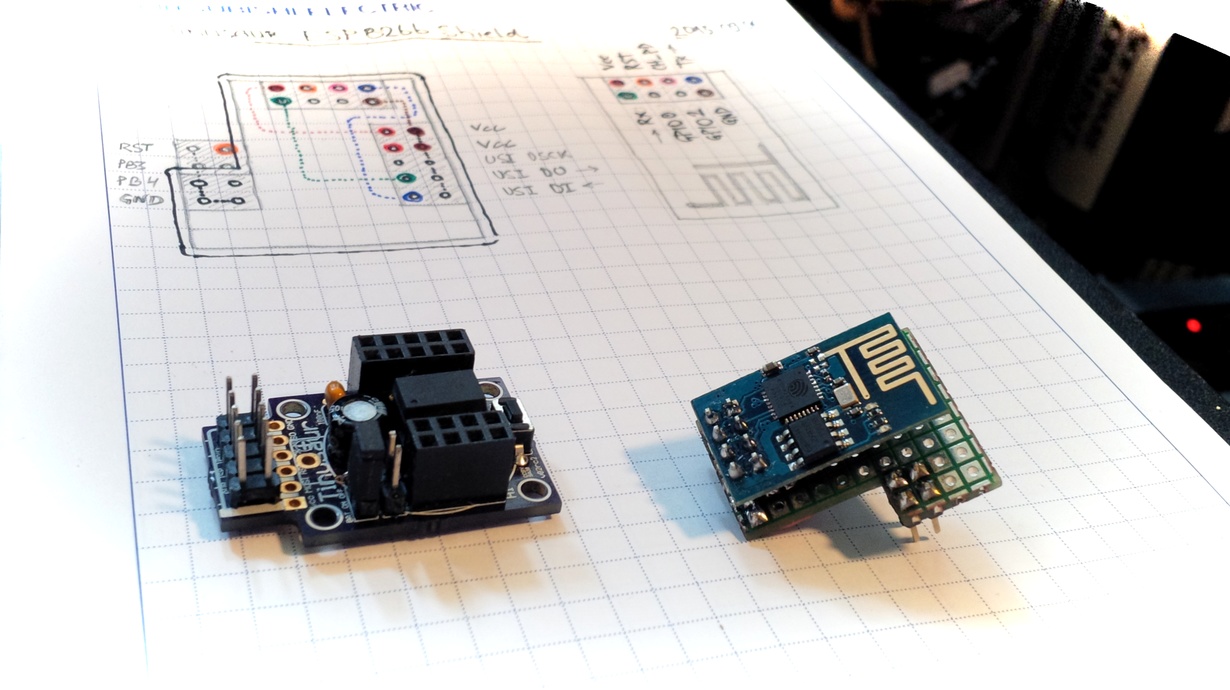
Tinusaur ATtiny85 ESP6288 Shield

Yes, why not. And here is what I did …

(this will be series of posts about what I did with ATtiny85/Tinusaur and ESP8266 WiFi module)

First, what could be accomplished with such limited device as ATtiny85? It has 8 pins, 2 of which are for the power (Vcc and GND), one for the RESET (pin 1 – PB5), another one potentially for the OWOWOD debugging (pin 2 – PB3) through serial line, so there are 4 pins left: PB0, PB1, PB2, PB4.

ATtiny85 pinout

ESP8266 module uses UART to communicate so it would require at least 2 pins to work – URxD and UTxD.

There is also CH_PD pin that controls the chip and could power it down.

ESP8266 module pinout

At first it may look that this takes another 3 pins out but not really.

If we use the CH_PD to disconnect the ESP8266 module we can use the same pins for other purposes like connecting additional I²C devices to the micro-controller. This is what I did.

What are the challenges?

1) There’s no UART on ATtiny85 so I had to write my own that takes advantage on the built-in USI unit. The library is called USIUARTX and will be presented in another blog post. The source code will be uploaded at https://bitbucket.org/tinusaur/ very soon.

2) There’s no I2C on ATtiny85, not even the TWI (Two Wire Interface, basically I2C) that some other Atmel chis have, so I had to write my own that takes advantage on the built-in USI unit. The library is called USITWIX and will be presented in another blog post. The source code is already available at https://bitbucket.org/tinusaur/usitwix. The BMP180TINY library (Source code at https://bitbucket.org/tinusaur/bmp180tiny) uses it to communicate with an BMP180 pressure sensor.

That’s it for now.

My next post will be about the above mentioned libraries.

Small changes on the board

Some of the people who received the Tinusaur Starter kit wrote us that it isn’t that easy to figure and remember how to put and use the 2 small 2×1 headers for the external power and the battery on/off. So, we decided to make a small change – have those in different colors.

Tinusaur Starter Kit Assembled

PS1 (external power source) is now red.

BS1, BJ1 (battery switch and jumper) are now yellow.


Your feedback is really valuable to us.


All parts and boards arrived

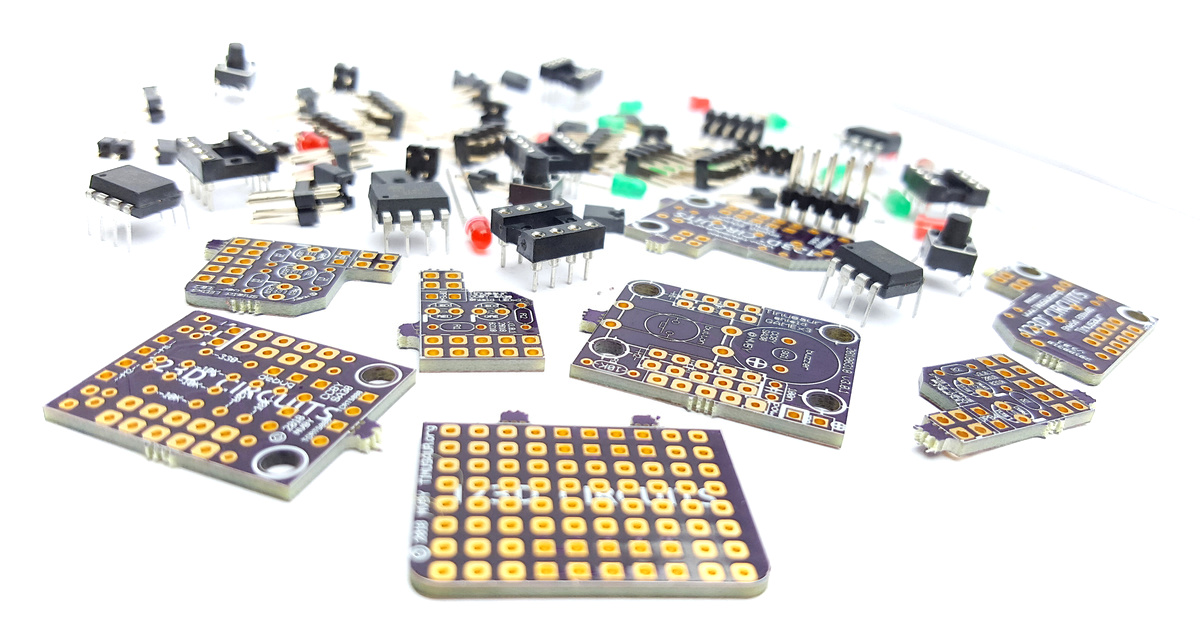
Tinusaur PCB boards by OSHPark

Dear friends, I’m glad to inform you that all the parts and the boards finally arrived.

So we’re ready to offer the Starter Kit to those that are interested.

Boards were produced by OSHPark – they look great, as usual.

Tinusaur PCB boards by OSHPark

We also received a small batch from SeeedStudio – cheaper but still looks good.

We are now preparing the purchasing option – a PayPal button or may something more complex – we haven’t decided yet. There is this “Start your own online store front” list of options that we consider looking at. Any feedback or shared experience we will appreciate very much.

Initially, we will put up for sale a very small batch – 20 or so packages – we don’t know what the interest will be, but we have the capacity to ship about 80 more.