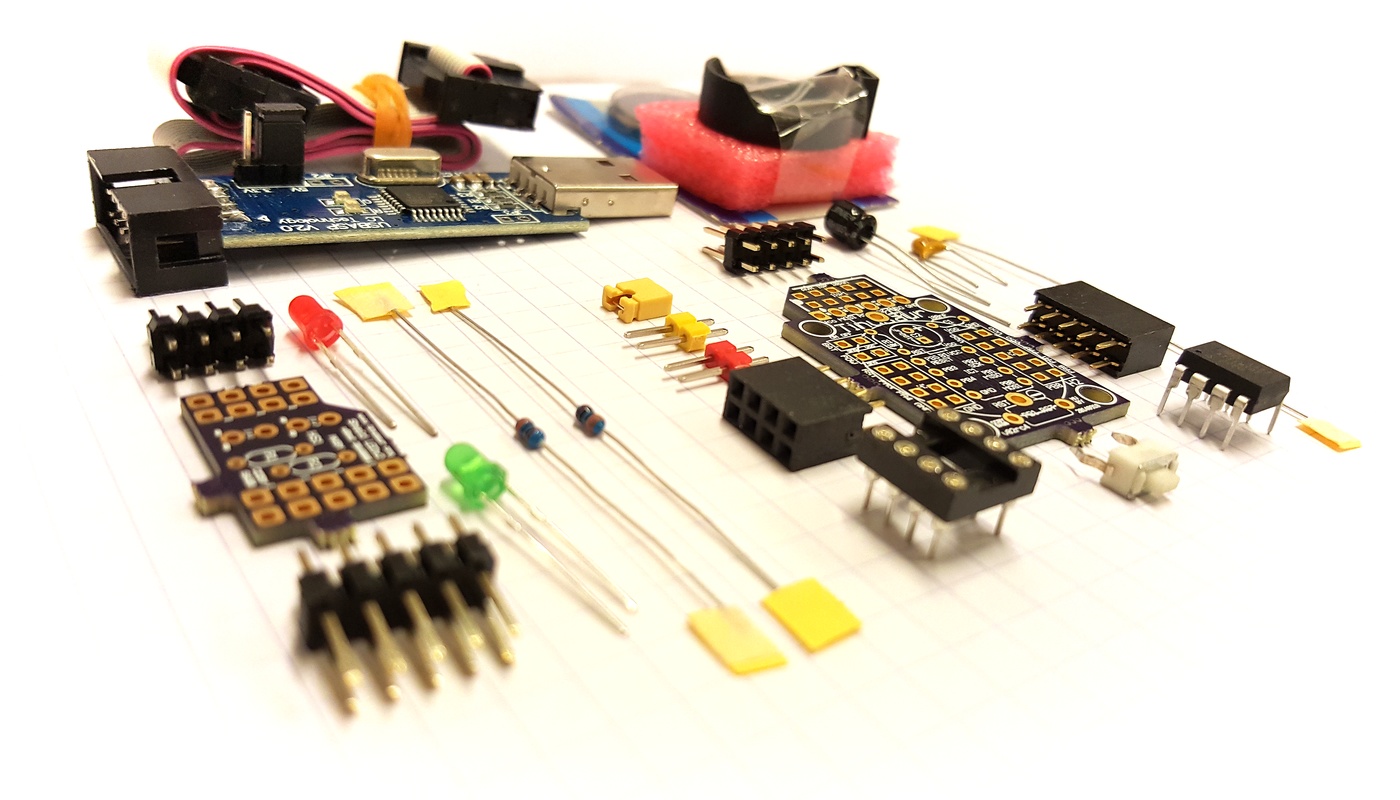
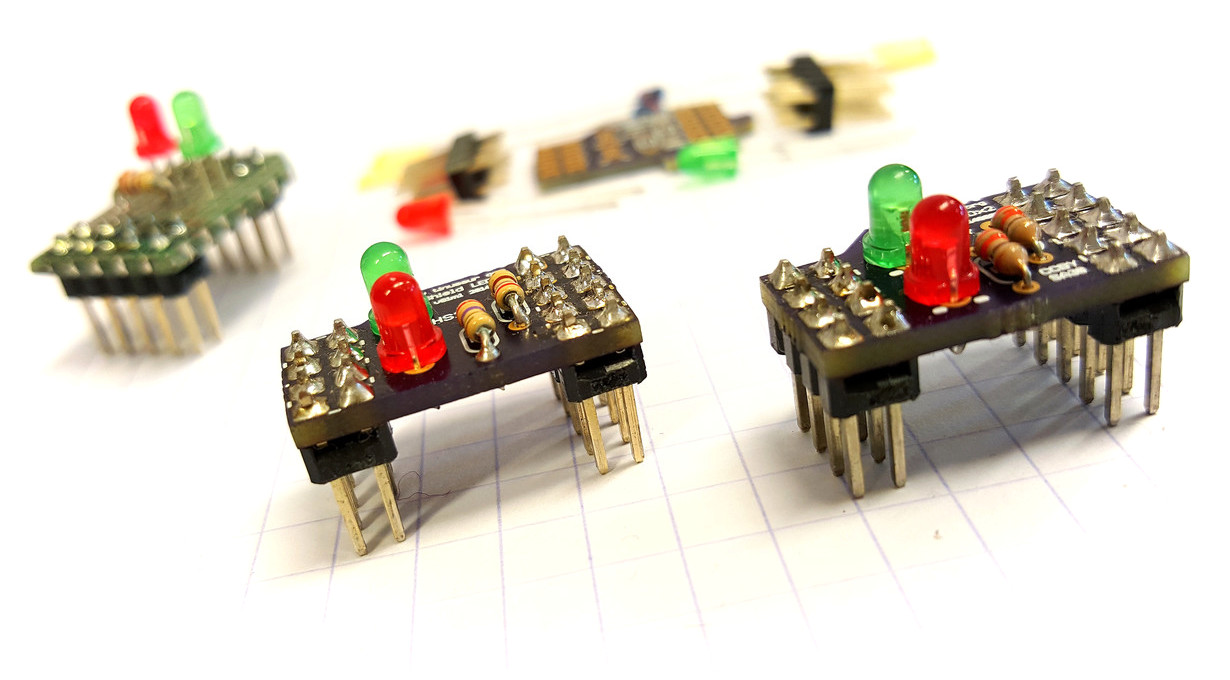
Updated User Guides for the Main Board, Shield LEDx2 and EDUx4IO

Main Board Shields LEDx2 EDUx4IO

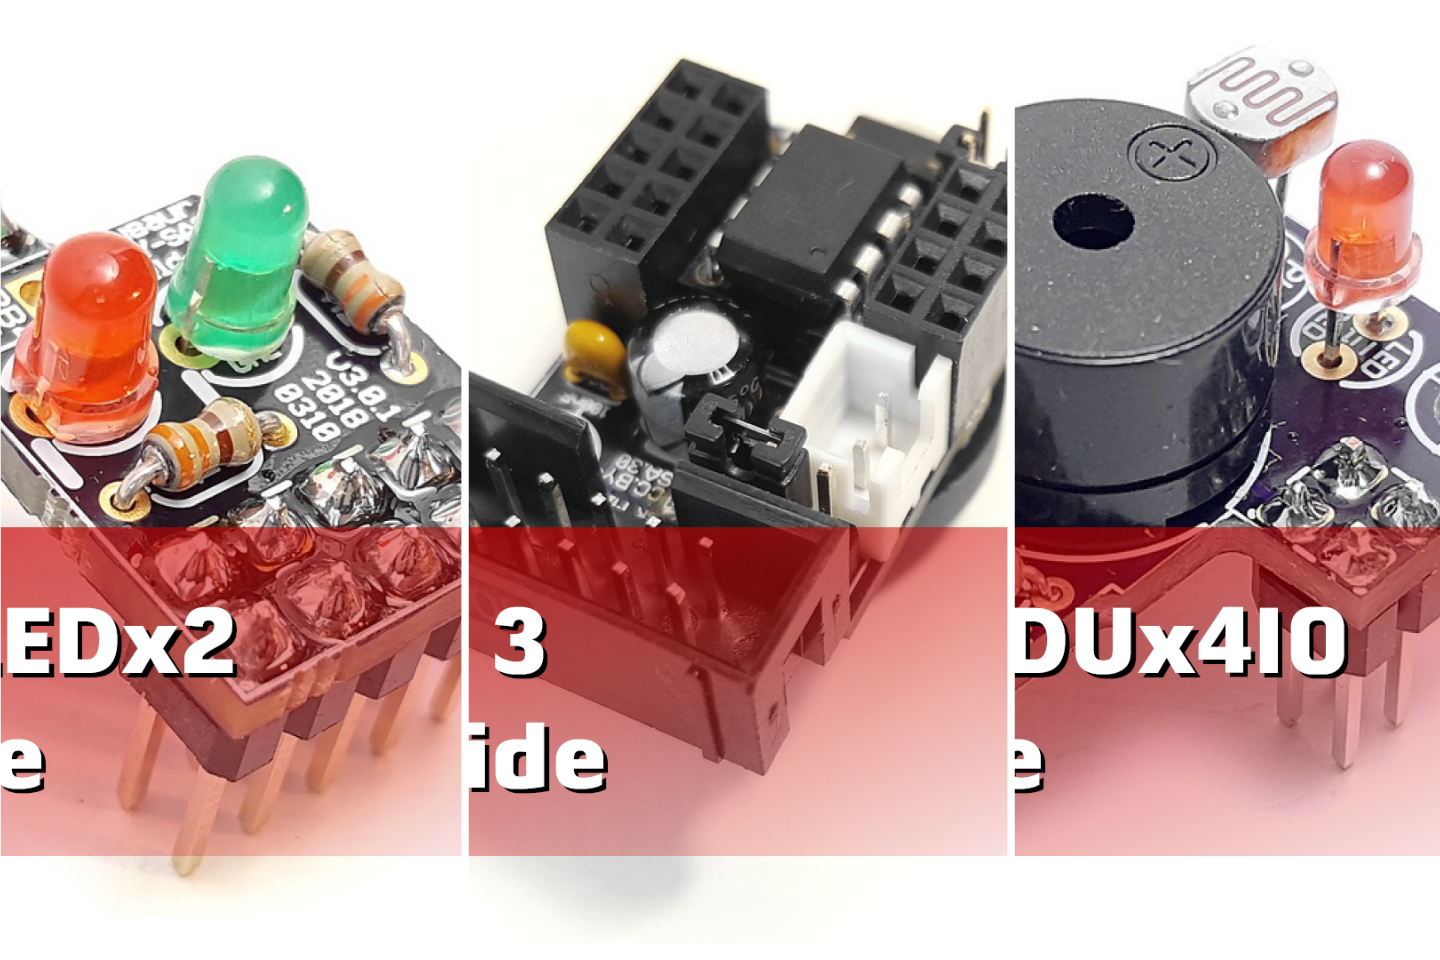
We have updated the user guides for how to assemble the Tinusaur Board, Shield LEDx2 and Shield EDUx4IO. They are all in PDF format and are available at the following links:

The collection of user guides is at tinusaur.org/guides.

Our plans are, once finalized, to convert those slides to video and upload them to YouTube – that appears to be more convenient for some people. Also, add some voice-over … maybe. 🙂

Tinusaur Workshop UNI4KIDS Drenta

We’d like to ask you to take a look at the user guides and if you think there’s something to be added or changed, please, leave a comment below this post.


How to Assemble Your Tinusaur Shield LEDx2 – Guide (slides)

Tinusaur Shield LEDx2 - Assembling (slides)
Shield LEDx2 Assembled

We have just finished another guide – this time about how to assemble your Tinusaur Shield LEDx2.

The file in PDF format is available at this location:  Tinusaur Shield LEDx2 – Assembling (slides).

Please, download it and take a look. If you feel that there’s missing something or wrong, please, let us know.

When we update the files we will commit changes in this repository: https://gitlab.com/tinusaur/shield-ledx2-docs/.

Short Video about the Tinusaur Project

The Tinusaur Project

This is a short 2-minute video explaining what is the Tinusaur project about, who is it good for and what you could do with its microcontroller and shield boards.

The Tinusaur is a small microcontroller board with a tiny chip on it.

The Tinusaur board is powered by the popular Atmel ATtiny85 microcontroller. It comes as an assembly kit: a small package with parts – you get the chance to learn how to solder it. Don’t worry, it isn’t that complicated. This circuit is so simple that there are very few things that could go wrong.

Once your mainboard is ready you could start learning by making and playing using our shield boards.

Our shield called LEDx2 has 2 LEDs – Green and Red. It comes also in parts, so you have to assemble it yourself. You can make its LEDs to blink. For example: like the traffic lights.

Want to do more?

We also have the EDUx4IO shield designed primarily for education. It has 4 different components on it: LED, Buzzer, Button, Photoresistor. With the LED and the Buzzer, you have 2 ways to output digital and analog signals. With the Photoresistor and the Button, you have 2 ways to input digital and analog signals.

There is also temperature sensor built into the ATtiny85 microcontroller chip.

Where is the breadboard?

Tinusaur Boards Pinout

You may ask “How am I going to connect the Tinusaur Board to a breadboard for a quick start or prototyping?”.

Well, in most cases you won’t need a breadboard and the reason for that is the way the Tinusaur Board has been designed with 2 2-row headers that give you enough pins to do some prototyping directly on the board.

Tinusaur Boards Pinout

The 2 outer rows are always GND while the 2 inner rows are always signal (except when they duplicate the GND), and the Vcc is inner as well. On the newer version of the board, there is also e separate 2-pin (female or male) external power connector. The board could be powered by a coin cell battery as well or directly through the USBasp programmer. So, with 18+2=20 pins in total, it is more like a tiny breadboard where you can stick some wires or even some parts. Pretty neat, isn’t it?

If you’re not ready yet to prototype your own circuit you can use some of the shields we’ve got. To learn how to make a LED blink you could use the Tinusaur Shield LEDx2 or the upcoming Tinusaur Shield LEDx3. For more advanced topics you could use the Tinusaur Shield EDUx4IO that can help you learn how to work with buttons, produce sounds with a buzzer, read analog data such as light intensity using a photoresistor, and many other things.

So, do I need a breadboard for prototyping?

  • The answer is NO, you don’t need a breadboard in most cases.

We have not been idle

Tinusaur Shield LEDx3

We’ve not been idle waiting for the parts from our suppliers.

We’re prototyping a new shield that we called Shield LEDx3 that has 3 LED – green, yellow and red. As you may have guessed already it is similar to the traffic lights. That will be a great new shield to play with. We expect to have it in production in about a month or so.

Tinusaur Shield LEDx3

New Bundle: Tinusaur Starter 2

Tinusaur Starter 2 Kit

As you may already know last week we announced the Tinusaur Shield LEDx2 – this is very simple add-on board that you put on top of the Tinusaur Board. It has just 4 components: 2 LEDs and 2 resistors for each LED – there is no much to solder.

Now we have bundled this with a Tinusaur Board and an USB-ASP Programmer and that is now the Tinusaur Starter 2 kit. Great, isn’t it!

Tinusaur Starter 2 Kit

Check the links below for more detailed content information about each of the products included in this bundle:

IMPORTANT: Note that this is a kit, you have to assemble it yourself.

This bundle has its own page at Bundles / Tinusaur Starter 2.

Please, check the Where to buy page to see if the Tinusaur Starter 2 at the The Tinusaur Online Store.

New Product: Tinusaur Shield LEDx2

Tinusaur Shield LEDx2

As we’ve mentioned earlier (What is happening with this project?) we were working on shield-like add-on board for the Tinusaur Board.

So here it is …

Tinusaur Shield LEDx2 Parts

It has only 2 LEDs and 2 resistors for each LED so no much to solder.

This shield aims at 2 things – making it easier to …

This shield has its own page at Products / Tinusaur Shield LEDx2.