CARTINU – Small Robot Car, Powered by the Tinusaur – ATtiny85 Board

CARTINU - Small Robot Car, Powered by the Tinusaur - ATtiny85 Board

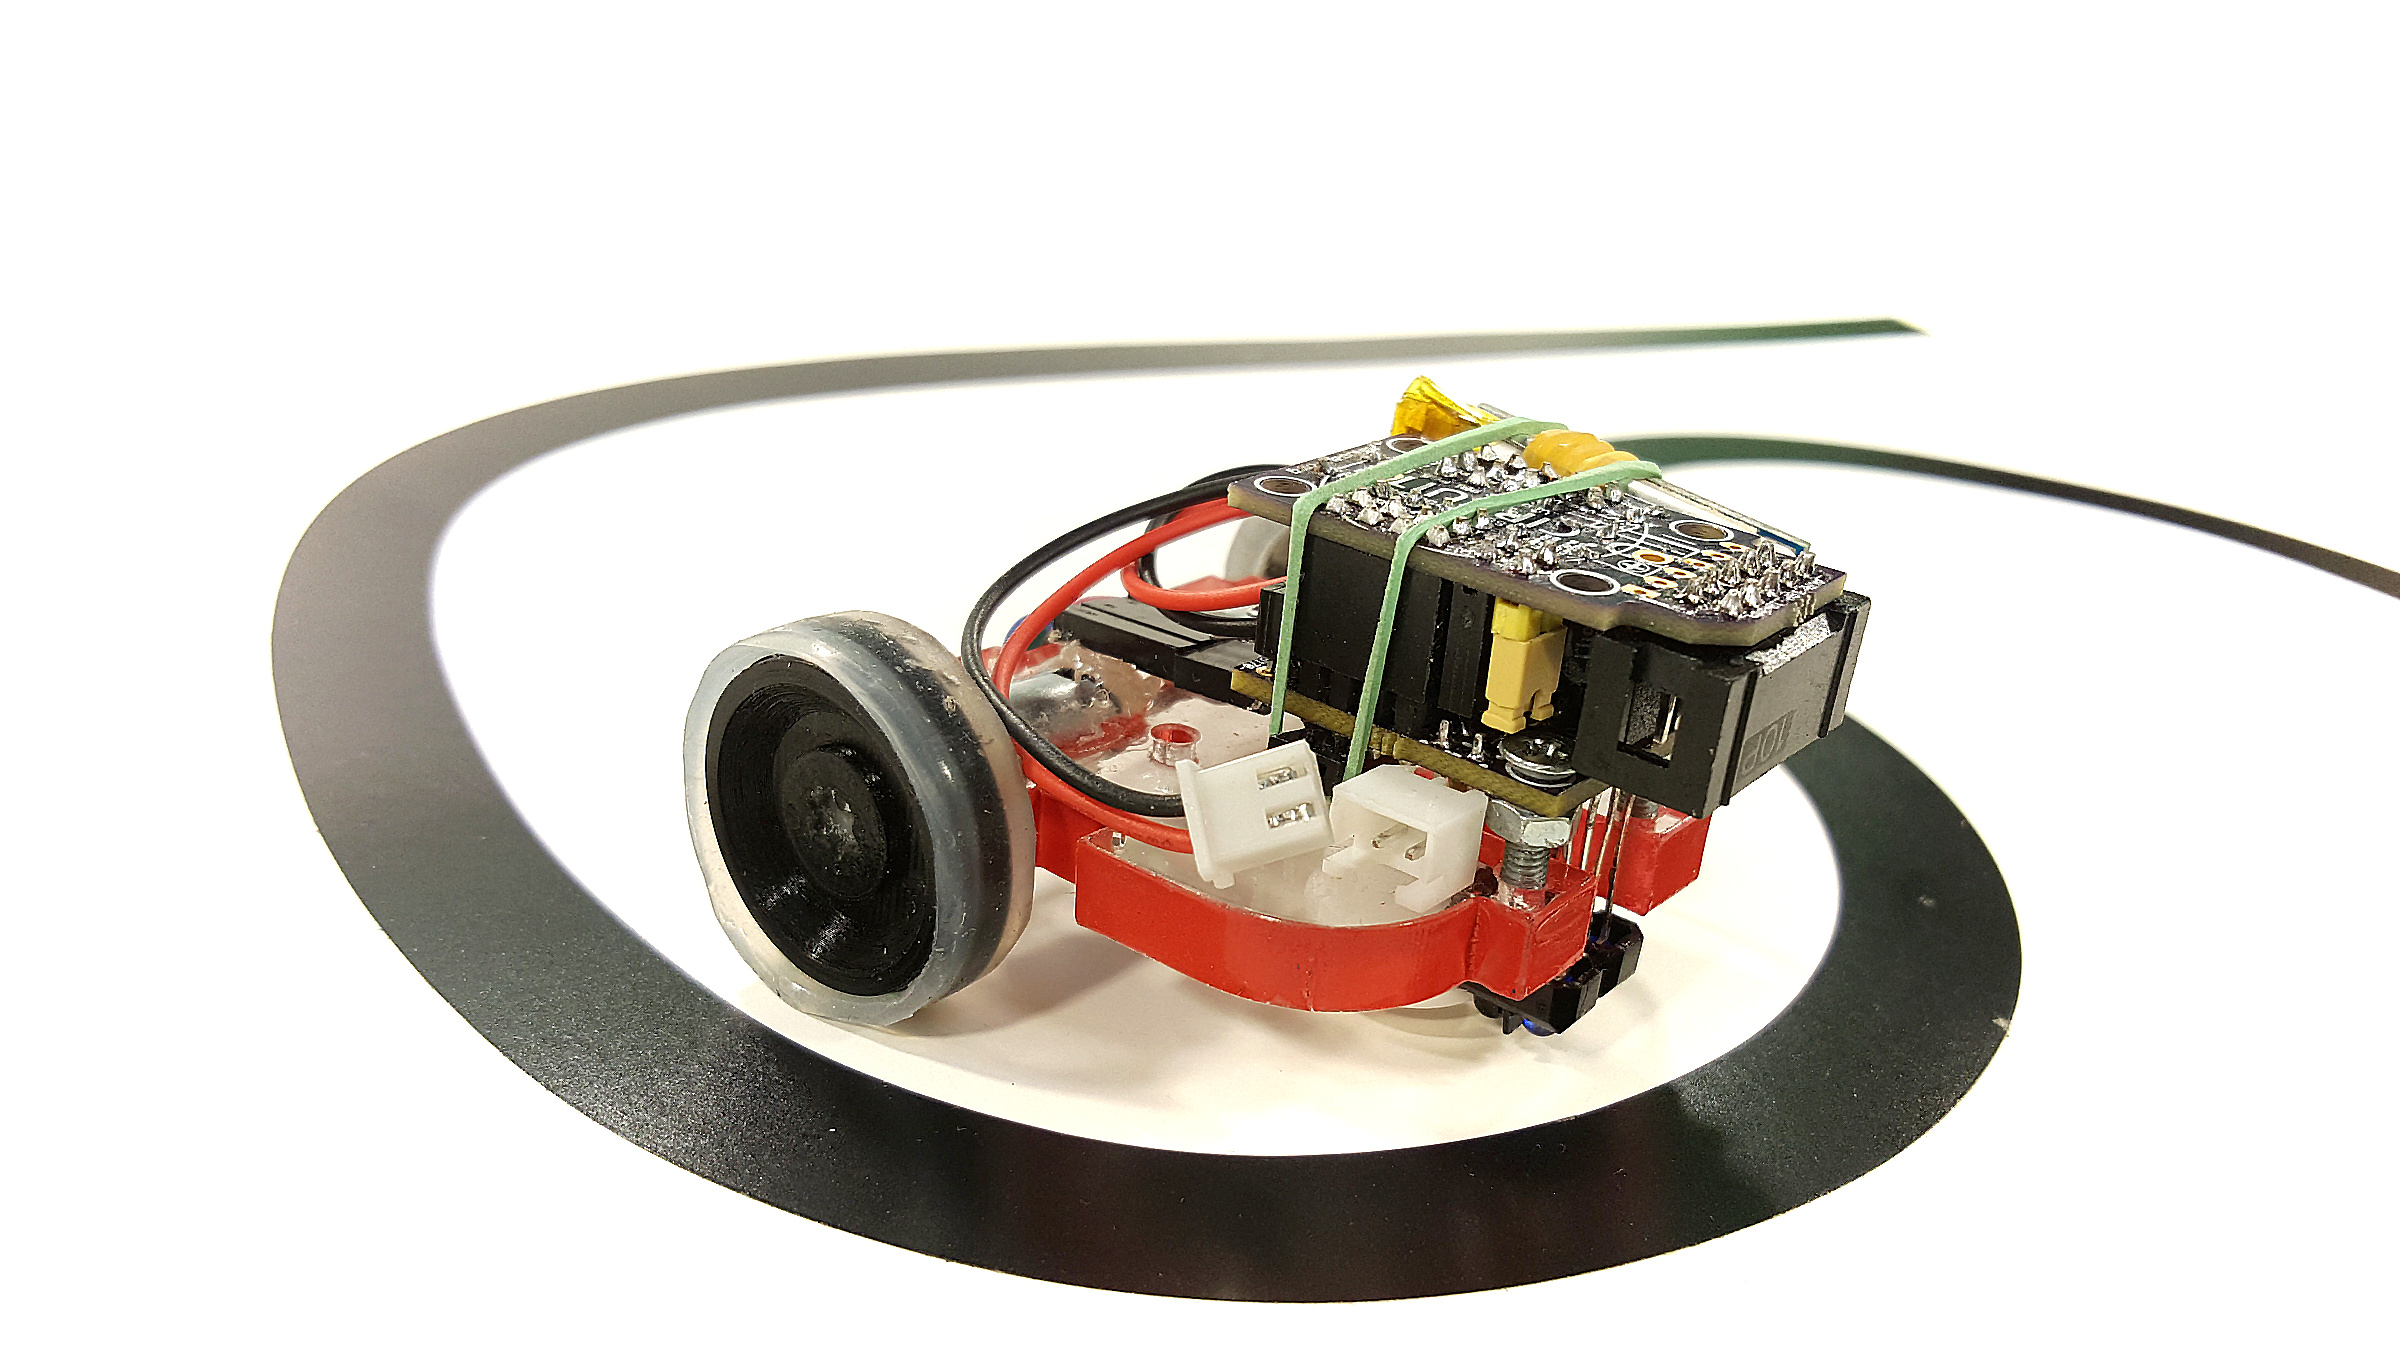
The Cartinu is a small robot car that you could build yourself. But don’t worry! It isn’t that complicated – this circuit, is so simple, that there are very few things that could go wrong. The “brain” of the Cartinu is the Tinusaur board that is powered by the popular Atmel ATtiny85 microcontroller.

Once your Cartinu is ready you could start programming it.

On the chassis, you have 2 powerful planetary gear motors. You also have 2 infrared proximity sensors on the bottom of the chassis. That allows you to program the Cartinu to follow a black line on the floor.

The Cartinu is part of the Tinusaur project. It is important to mention that the Tinusaur and the Cartinu are an open source project? Both the software and the hardware! You can buy all parts, fabricate the PCBs, and assemble them yourself.

The Cartinu is almost ready for production and is part of the crowdfunding campaign that we are launching on January 22nd 2018.

Sounds interesting?

Subscribe to get updates about the launch.


More information about the Cartinu will be posted on its page.


Tinusaur powers a tiny vibrating robot

Vibrating robot chassis

Here it is – the first Tinusaur powered robot.

This is a vibrating robot that could turn left, right, and move forward.

I decided to build that after watching a video on YouTube about the Kilobot project from Harvard University. Mine is much simpler and a lot less capable. But hey, that’s the first version only. 🙂

First I made a testing chassis for the vibrating motors. As it is seen in the picture they are wired (connected with a thin copper cable) to a battery – this allowed me to make some experiments before deciding how to put them on the final version of the board. It turned out that they should be in angle. I decided to put them in 90 degrees.

Vibrating robot chassis

So, I made another chassis with the 2 motors positioned in 90 degrees (2 x 40 degrees)

I used a double-sided prototyping board and the motors’ contacts fitted nicely into the holes, no soldering was necessary – I just fixed them to the board with isolated wires.

On the top of the chassis, I tied a shield-like board that connects motors to the MCU board. Later I may need to add some components on that shield board, like a driver for motors, sensors, etc.

The Tinusaur – Prototype Board

For the “brain” of this bug, I used one of the prototype boards of the Tinusaur based on Atmel AVR ATtiny25, coupled with a 2xAAA package for batteries.

At the moment the motors are connected directly to the output pins of the MCU, there are no drivers. It works fine for now but may need to change.

The code for this experimental build is very simple – it just turns on and off 2 output pins on the MCU.

#include <avr/io.h>
#include <util/delay.h>

#define MOTOR_PORT PB3
#define MOTOR_PORT PB4

int main(void)
{
  DDRB |= (1 << MOTOR_PORT);
  DDRB |= (1 << MOTOR_PORT);

  while (1) {
    PORTB |= (1 << MOTOR_PORT);
    PORTB &= ~(1 << MOTOR_PORT);
    _delay_ms(3000);

    PORTB &= ~(1 << MOTOR_PORT);
    PORTB |= (1 << MOTOR_PORT);
    _delay_ms(3000);

    PORTB |= (1 << MOTOR_PORT);
    PORTB |= (1 << MOTOR_PORT);
    _delay_ms(8000);
 }

  return (0);
}

Problems

The 2 vibrating motors, even though I bought them together, do not work the same way. That creates some difficulties controlling the direction of the bot – it turns well in one direction but not that well in the other. There are even bigger problems moving forward.

Tinusaur powered vibrating robot

In the next version, I should definitely make changes in the vibrating motors – use some of those button-like ones and also change their angle. A friend of mine suggested that I should probably play more with the “legs” as they are crucial for the movements with which I agree.

The battery is too big, but the button cell battery is not enough to power the MCU and the motors for a long time, so I should probably think of another power source.

There is a short video on YouTube that shows more photos of how I built this with some footage at the end of the robot moving around.

Any comments and suggestions are really appreciated.

🙂