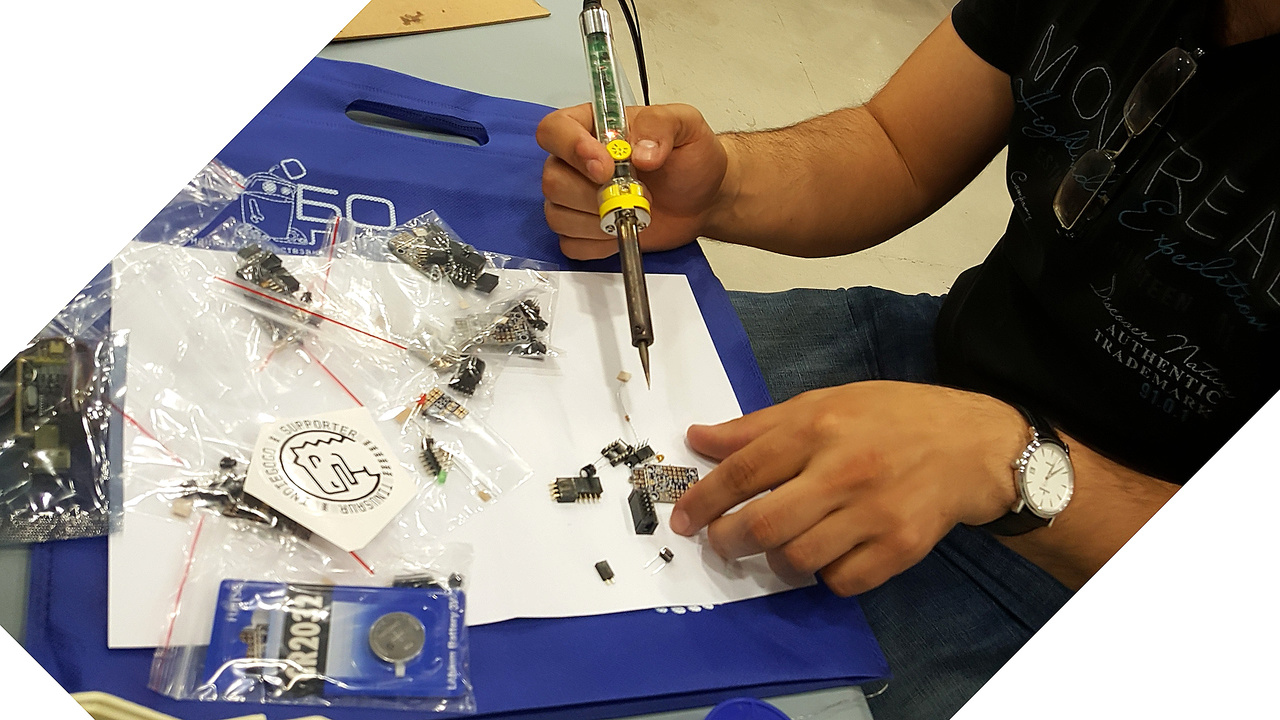
This is a short guide about how to assemble the Tinusaur board. It applies to the standard Tinusaur Boards as well as to the LITE version.
Suggested order for soldering the parts:
- DIP-8 socket for MCU
- Header 2×4, Female
- Header 2×5, Female
- Resistor 10K
- Capacitor 100uF
- Capacitor 100nF
- Header 1×2, Female, for external battery
- Header 1×2, Male, for internal battery on/off (put the cap on)
- Header 2×5, Male, Shrouded, for ISP / USBasp
CHECKPOINT
At this point, you should check if the board works.
So, first …
- Insert the ATtiny85 microcontroller.
Program the microcontroller to see if the board is assembled correctly. You could do that by doing the following:
- Go to one of the source code repositories (listed below) and choose one of the projects.
- Repo: https://bitbucket.org/tinusaur/tutorials/src
– project “tut001_blinking_led_x1“ - Repo: https://bitbucket.org/tinusaur/shield-ledx2/src
– project “shield_ledx2_blink1“
- Repo: https://bitbucket.org/tinusaur/tutorials/src
- Download the HEX file.
- Then, using the avrdude command, upload the HEX file into the microcontroller.
- If the process completes successfully it is likely that everything is assembled correctly.
Continue with the soldering.
It is important to solder the battery socket first and then the RESET push button.
(If you are assembling the Tinusaur Board LITE you should skip the step with the battery holder)
- Battery holder for CR2032 battery
- Push button, for RESET
Tha’s it.
ENJOY! 🙂